
Uploading a new Pin on Pinterest is technically just a few clicks—hit Create > Create Pin, drop in your image, and add some text.
Easy, right?
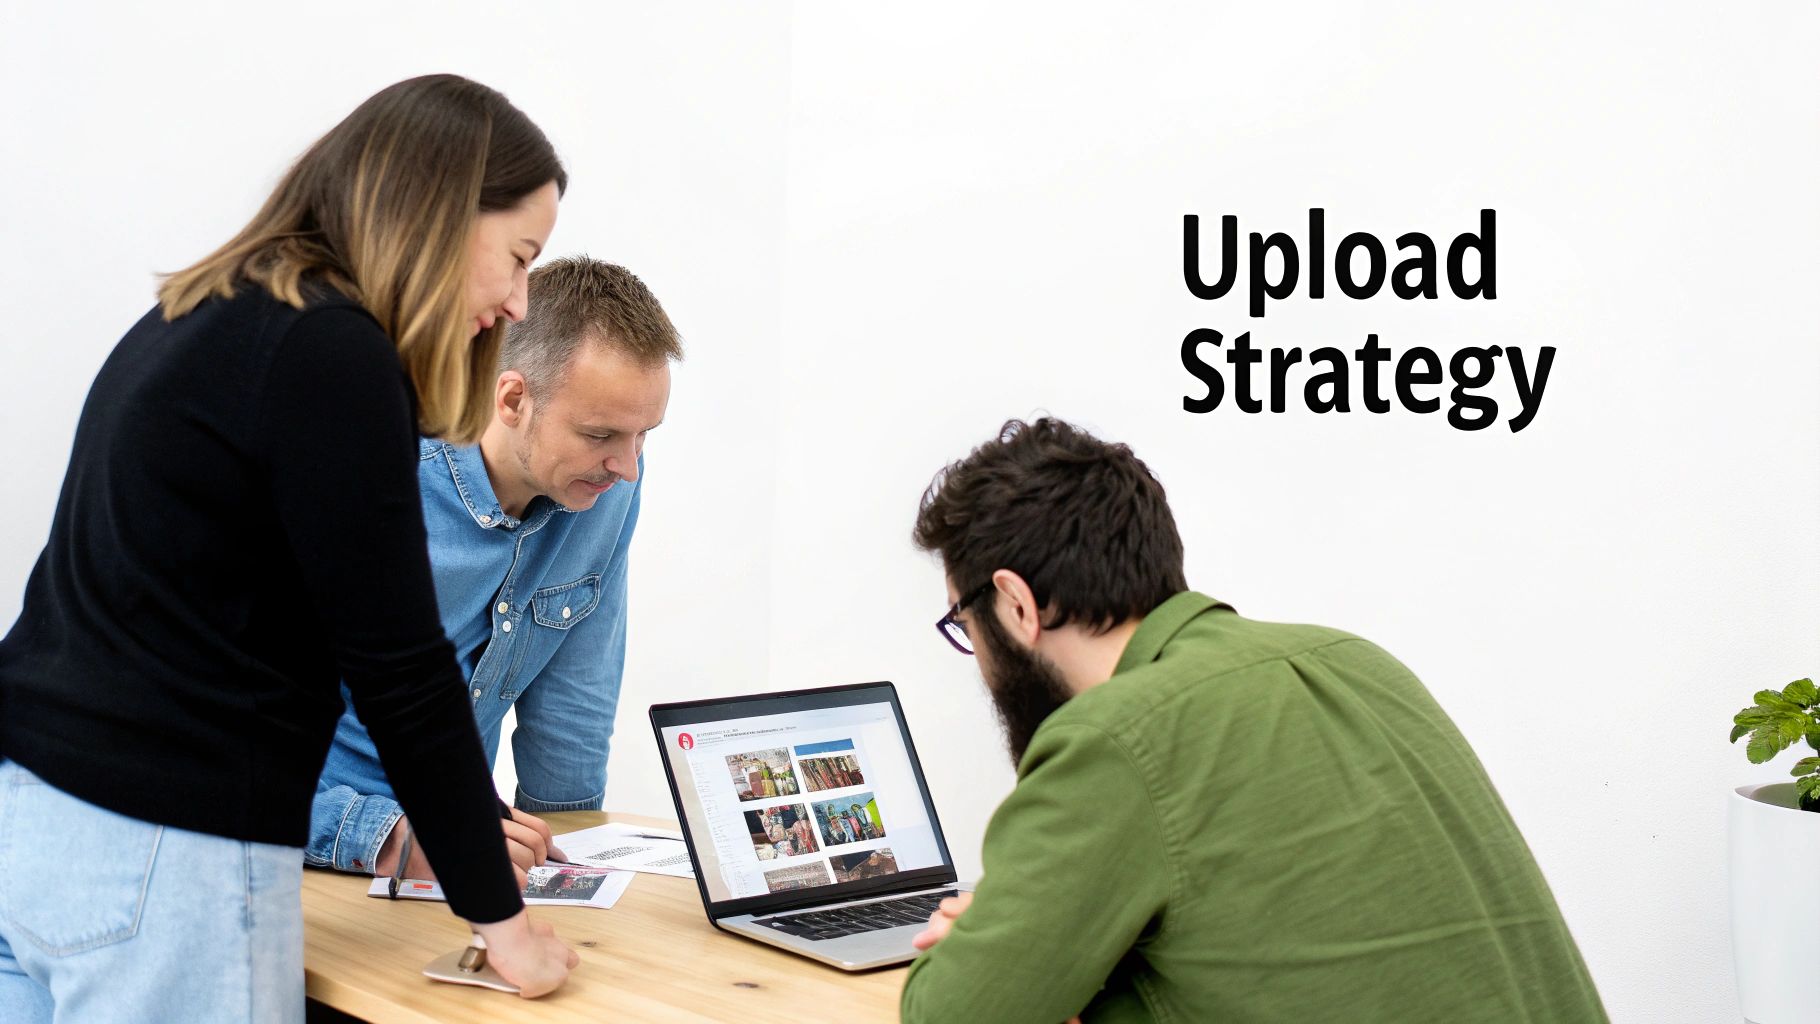
But the real magic happens when you move beyond just uploading and start thinking strategically about every single Pin.
Why Your Pinterest Upload Strategy Matters
Just tossing a photo onto a board is like whispering your best idea into a hurricane. To actually get seen, you need a plan.
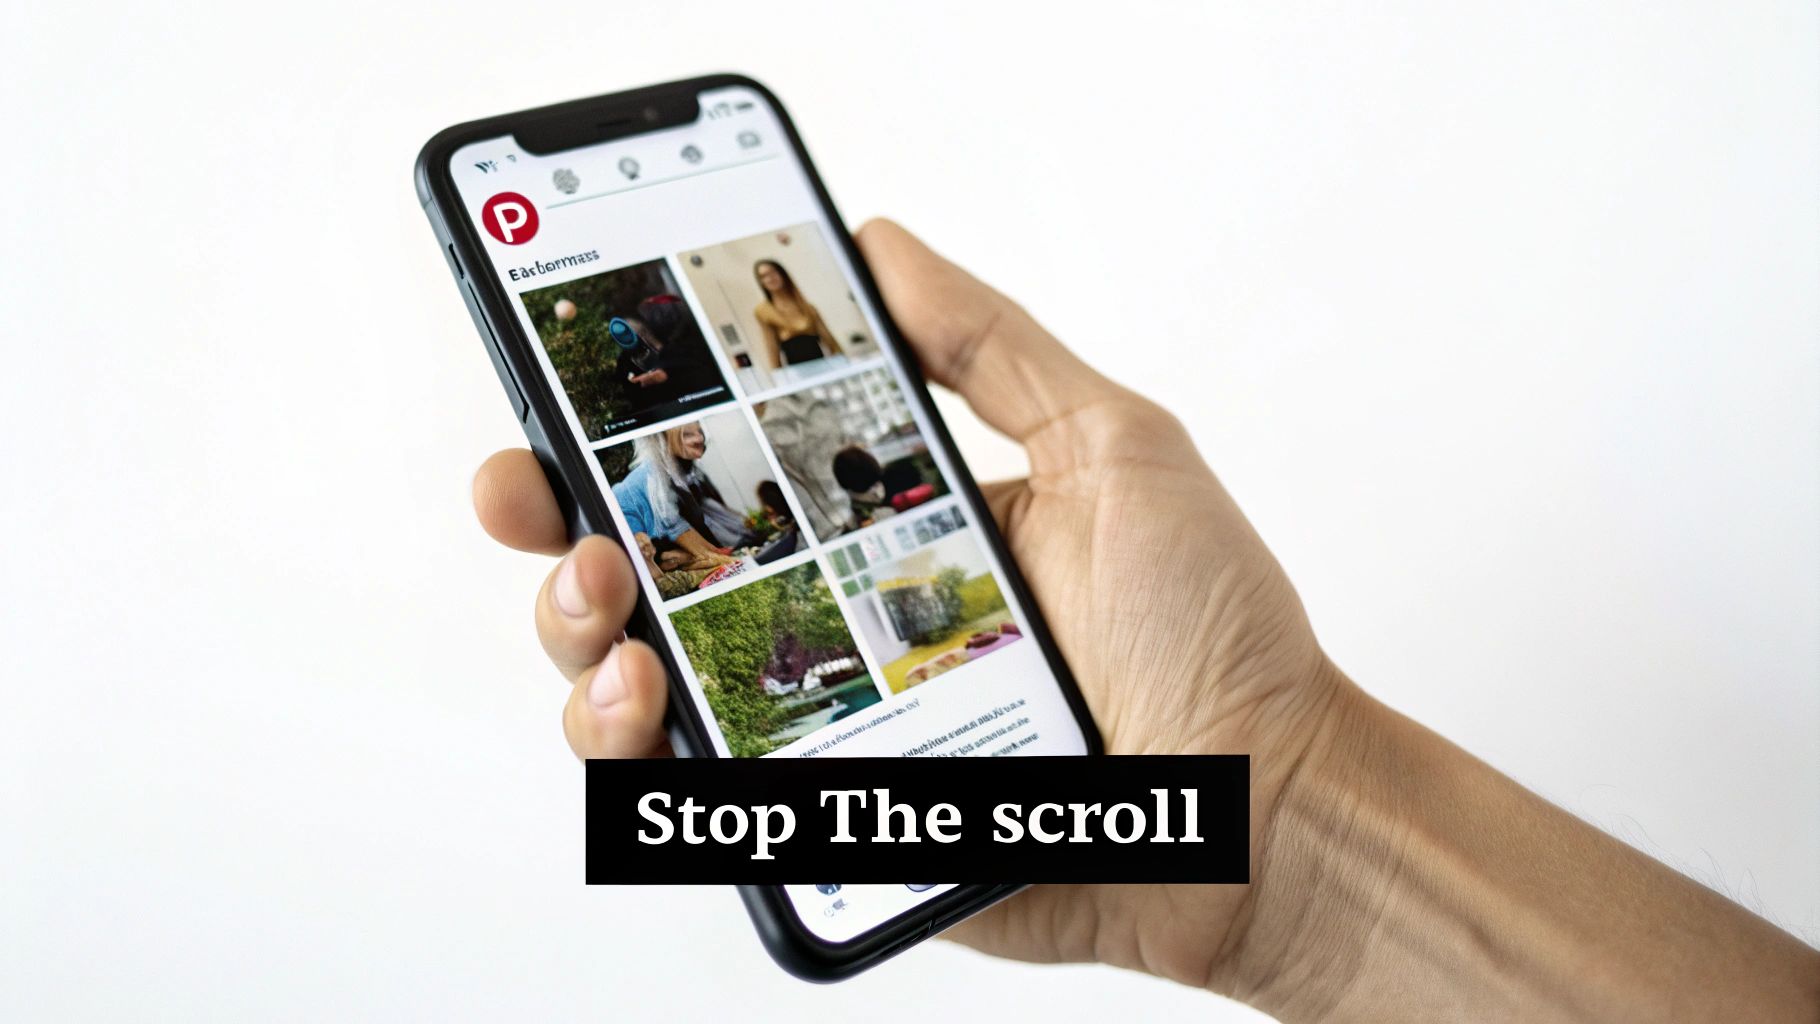
Think of it this way: Pinterest isn’t another social media feed for mindless scrolling.
It’s a massive visual search engine where people are actively planning their next purchase, project, or trip.
That’s a huge distinction. People are here with intent. They’re not just killing time; they’re curating their future, whether it’s a new kitchen backsplash or a summer wardrobe.
When you learn how to upload a Pin with this in mind, your content becomes part of their decision-making process, not just another pretty picture.
From Content Creator to Strategic Marketer
Once you grasp this user mindset, you stop being just a content creator and become a savvy marketer. The goal isn’t just to post; it’s to be discovered at the exact moment someone is looking for what you offer.
The numbers are staggering—globally, users save over 1.5 billion Pins every single week. That’s a whole lot of planning and discovery happening.
This forward-thinking user behavior means a single, well-optimized Pin can continue to drive traffic and leads for months, sometimes even years.
To see how this fits into the bigger picture, it’s worth checking out an essential content marketing strategy guide.
A successful Pin is more than just a pretty picture. It’s a billboard that works for you 24/7, connecting with an audience ready to discover, save, and ultimately, buy.
Designing a Pin That Stops the Scroll
Before we even get to uploading, we have to talk about what makes a Pin work.
A Pin that gets clicks and saves isn’t just a pretty picture; it’s a carefully crafted piece of content designed to make someone stop scrolling. And it all starts with the right size.
Stick to a 2:3 aspect ratio like 1000 x 1500 pixels. This vertical format is king on Pinterest because it takes up more space on a mobile screen, which is where most people are browsing.
A square or horizontal image just gets lost in the feed.
Next up is your text overlay. Think of it as your Pin’s headline. People scroll fast, so you need to tell them what your Pin is about in a heartbeat.
Use a bold, legible font that pops against your background. For example, a recipe Pin should scream “Easy 30-Minute Vegan Tacos” in big, clear letters.
Picking the Right Pin Format
Pinterest gives you a few different tools in the toolbox, and knowing which one to grab for the job is crucial for connecting with your audience.
- Standard Pins: This is your classic static image. It’s the workhorse of any Pinterest strategy and is perfect for sending people directly to your blog posts, product pages, or email sign-up forms.
- Video Pins: These are fantastic for grabbing attention. A short video (think 15-60 seconds) is perfect for showing how a product works, demonstrating a quick DIY, or sharing a fast tip. They have a knack for making people pause their scroll.
- Idea Pins: Think of these as a mini-story or a how-to guide that lives right on Pinterest. They’re built with multiple pages (or slides) and are great for building brand awareness and growing your following. The catch? They don’t always link out to your website.
A Pin’s visual is its first impression. The design has to be strong enough to tell the whole story, even if someone never reads the description.
Don’t forget to weave in your branding. Consistently using your brand’s colors, fonts, and logo helps your audience recognize your content instantly.
After a while, they’ll know a Pin is yours before they even read a word.
For a more detailed look at the visual side of things, check out our complete guide on how to create Pins that get results.
Getting Your Pin Uploaded and Optimized
Alright, you’ve got a killer visual that’s ready to stop the scroll. Now comes the fun part: uploading it and telling Pinterest exactly who needs to see it.
Think of this stage as the behind-the-scenes magic. Just throwing an image up isn’t going to cut it; every single field you fill out sends a powerful signal to the Pinterest algorithm.
The mechanics are simple, whether you’re on your computer or phone. Just hit Create > Create Pin and select your image or video.
One quick tip before you upload: make sure your visual is web-ready. A massive file will load slowly and can even fail to upload, which is just frustrating for everyone.
If you’re not familiar with the process, this guide on image optimization for web performance is a great resource. It’s a small step that makes a big difference in user experience.
With your visual locked and loaded, let’s get down to the real optimization work.
Writing a Title and Description That Work Hard for You
This is your SEO bread and butter on Pinterest. Your Pin’s title and description are what get you found.
The title is your hook—it needs to be clear, packed with the right keywords, and interesting enough to make someone stop and click.
A lazy title like “My New Blog Post” does absolutely nothing for you. A great one, like “10 Easy Vegan Dinner Recipes Ready in 20 Minutes,” tells both the user and the algorithm exactly what they’re getting. See the difference?
Your description is where you can flesh things out. You have more room to play here, so you can add more context and weave in keywords naturally.
I usually aim for somewhere between 50-250 characters. The key is to think like your audience. What words are they typing into that search bar?
Your Pin’s description is like a mini-blog post. It should tell a quick story or solve a specific problem while naturally using the phrases your ideal audience is searching for.
For example, don’t just say, “A recipe for tacos.” That’s a missed opportunity. Instead, try something like: “This easy vegan taco recipe uses black beans and a simple lime crema for a healthy weeknight dinner.
Perfect for meal prep and gluten-free diets.” Now you’ve hit keywords like “vegan taco recipe,” “healthy weeknight dinner,” and “meal prep.”
Anatomy of a Perfectly Optimized Pin
I’ve put together a quick checklist to help you nail this every time.
Use this table as your guide during the upload process to make sure every element is fine-tuned for visibility and engagement.
| Element | What to Focus On | Real-World Example |
|---|---|---|
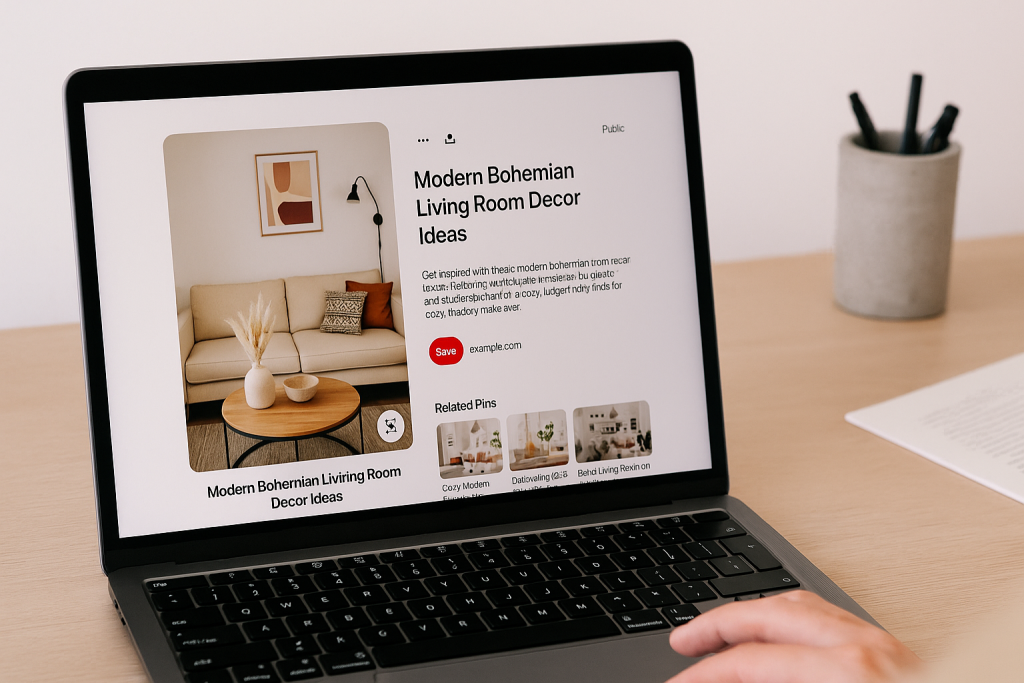
| Title | Use a primary keyword and make it compelling. Be specific. | Ineffective: Living Room MakeoverEffective: Modern Bohemian Living Room Decor Ideas |
| Description | Weave in 2-3 related keywords naturally. Solve a problem for the user. | Ineffective: Here’s my new living room.Effective: Get inspired with these modern bohemian living room decor ideas. Featuring neutral colors, natural textures, and affordable finds for a cozy, budget-friendly makeover. |
The effective approach isn’t just describing a picture; it’s offering a solution. It uses specific, searchable terms that will attract exactly the right person.
Every detail you add during the upload is another handshake with the algorithm, giving you a better shot at being discovered.
Choosing the Right Board and Scheduling for Impact
Getting your pin’s design and description right is only half the battle. Where and when you post it can make or break its success.
Think about it: a pin saved to the wrong board is like a great book shelved in the wrong section of a library. It’s essentially lost.
The golden rule here is to always save your new pin to its most relevant, keyword-optimized board first. This is non-negotiable.
Treat your boards as hyper-specific collections that signal your expertise to the Pinterest algorithm. If you’re a home decor blogger, a single, massive “Home Decor” board just won’t cut it.
You need to get specific with niche boards like “Modern Farmhouse Kitchen Ideas” or “Minimalist Living Room Design.”
This specificity tells Pinterest that you’re an authority on those particular topics, which helps your content get found.
Once you’ve published to that primary board, you can start thinking about repinning it to other relevant boards.
I usually wait a few days or even a week. For example, a pin for a “Healthy Vegan Dinner” would go to my main “Vegan Recipes” board first. A few days later, I might repin it to “Quick Weeknight Meals.”
This is a smart way to get more eyes on your pin without being spammy.
Timing Is Everything: Nail Your Pin Scheduling
You’ve got a great pin on the perfect board. Now, when do you hit publish? Uploading your pin when your audience is actually scrolling is key to getting that initial traction.
This is where a scheduler becomes your best friend.
Pinterest has a built-in scheduler that lets you publish your content at the perfect moment, even if you’re sound asleep.
Timing your Pins for peak audience activity isn’t just a small tweak; it’s a core strategy for maximizing initial engagement and telling the algorithm that your content is valuable.
So, what’s the “perfect moment”? While it varies, analytics often show that the sweet spot is typically between 8 PM and 11 PM in your audience’s local time.
Pins published then tend to get a nice boost in saves and shares. And remember that repinning strategy?
Spacing out a pin to multiple relevant boards can increase its overall visibility by up to 40%. You can discover more insights about Pinterest statistics to really dial in your timing.
By mapping out your content calendar, you’re not just posting randomly; you’re creating a consistent flow of value that Pinterest rewards with better reach. To get the full rundown on building a solid plan, check out our guide on how to schedule Pinterest posts.
This methodical approach is what turns random pinning into a real, traffic-driving machine.
Getting Your Pin Seen: Advanced Tips for More Reach
Alright, you’ve got a great title and a keyword-rich description. Now what? Let’s move past the basics and get into the details that will actually drive traffic.
The most important next step is adding a destination link. I can’t stress this enough. A Pin without a link is just a pretty picture; it does nothing for your business.
Think of it like a beautiful billboard with no address or phone number—it won’t bring anyone to your door.
Make sure the URL you add is directly related to what the Pin shows. If your Pin is all about “10-Minute Vegan Tacos,” the link needs to go straight to that recipe on your blog.
Don’t just dump users on your homepage and make them hunt for it. Pinterest rewards a smooth user experience, and sending people exactly where they expect to go is a huge part of that.
Secret SEO Weapons: Alt Text and Product Tags
Now for a seriously overlooked feature: Alt Text. Most people either ignore this or have no idea what to do with it.
While it’s designed for screen readers to help visually impaired users, it’s also a golden opportunity for your SEO.
Think of Alt Text as another chance to tell the Pinterest algorithm what your Pin is about.
Use your keywords, but be descriptive. Instead of just “living room,” write something like, “Modern bohemian living room with a neutral jute rug and green velvet sofa.” It’s specific, helpful, and packed with context.
Adding descriptive Alt Text is one of the quickest wins for improving your Pin’s discoverability. It gives Pinterest’s visual search AI crucial context, helping it serve your content to the right users.
And if your Pin features products you sell? You absolutely have to use Product Tags.
This feature lets you tag specific items right on the Pin, making it instantly shoppable. Someone can see a lamp they love in your photo, tap the tag, and go directly to its product page.
It seamlessly closes the gap between inspiration and purchase.
For a deeper dive into this, check out our guide on tagging on Pinterest.
When you combine a solid destination link, descriptive Alt Text, and smart product tags, you’re not just uploading an image—you’re building a powerful marketing asset.
Make Every Upload Count
Now that you know how to design and upload a high-performing Pin, don’t leave the results up to chance.
Before you hit publish, run your image, copy, and settings through our free Pin Optimization Checklist so you can double-check every detail in one quick pass.
With just a couple of minutes of review, you can confirm you’ve got the right 2:3 size, a scroll-stopping text overlay, keyword-rich title and description, a relevant board, a working destination link, alt text, and smart hashtags.
That way, every Pin you upload is set up for maximum reach instead of quietly getting buried in the feed.
Use this checklist alongside the steps in this guide each time you batch-create or schedule Pins, and turn your upload process into a simple, repeatable workflow that consistently sends more traffic back to your site.
Answering Your Top Pin Upload Questions
As you get into the swing of uploading Pins, a few questions always seem to pop up. Trust me, we’ve all been there.
Getting the details right from the start not only makes your life easier but also gives your Pins a much better chance of succeeding.
Let’s walk through some of the most common sticking points.
What’s the Perfect Size for a Pinterest Pin?
For a standard Pin, the sweet spot is a 2:3 aspect ratio.
If you want to get specific (and you should!), design your Pins at 1000 x 1500 pixels. This tall, vertical format is your best friend because it takes up more screen real estate on mobile phones, which is where most people are scrolling through Pinterest. It makes your content impossible to miss.
Nailing this size means your beautiful design won’t get awkwardly cropped, and it’ll look crisp and professional every time.
Can I Fix a Pin After I’ve Already Published It?
Yes and no. You can go back and edit the Pin’s description, its destination link, and even move it to a different board after it’s live. That part is easy.
The catch? The image or video itself is locked in. Once it’s up, it’s up for good.
If you spot a typo on your text overlay or a mistake in the graphic, your only option is to delete the Pin entirely and start over with a corrected version. This is why a final proofread of your actual Pin image is so important.
Take a moment to triple-check your Pin’s visual design and any text on the image before you publish.
The graphic is the one thing you can’t change later, and getting it right the first time will save you a ton of frustration.
How Many Hashtags Should I Actually Use?
Pinterest gives you room for up to 20 hashtags, but don’t feel like you need to use all of them. In fact, it’s better if you don’t.
A more effective strategy is to use 4-8 highly relevant hashtags.
Think of them less like you would on Instagram and more like specific keywords that help Pinterest understand what your Pin is about.
A good mix includes a few broad terms and a few more niche ones. Tuck them at the very end of your description to keep things looking clean for your audience while still feeding the algorithm what it needs.