Posting a pin is pretty straightforward: you upload an image or video, write a catchy title and a description packed with keywords, and add a link back to your website.
The whole thing only takes a few minutes, but that single action can turn a simple visual into a long-term traffic driver for your business.
Why Pinterest Is More Than Just a Mood Board
Before we get into the nitty-gritty of posting, it’s really important to grasp why Pinterest is worth your time in the first place.
A lot of people still dismiss it as a digital scrapbook for wedding planning or finding dinner recipes. That’s a huge mistake.
Think of Pinterest as a massive visual search engine. People don’t come here to kill time; they come with a purpose. They’re actively looking for ideas, solutions, and inspiration for something they want to do or buy.
This is the key difference. On other platforms, you’re interrupting a user’s scroll. On Pinterest, you are the destination. Pinners are planners and doers, searching for things they can act on right now.
The Power of Purchase Intent
The mindset on Pinterest is inherently commercial. Users are there to discover new products, learn skills, and make buying decisions.
For brands and creators, this is a golden opportunity to connect with an audience that’s not just browsing—they’re ready to take the next step.
And the numbers tell the same story. As of the first quarter of 2025, Pinterest is home to 570 million monthly active users, a number that jumped by 10% in just one year.
Even more telling is that an incredible 85% of weekly users have bought something based on pins they saw from brands.
That stat alone shows the platform’s direct line to consumer spending. If you want to dig deeper, you can find more fascinating Pinterest user statistics and what they mean for your strategy.
A single Pin can continue driving website traffic for months, even years, long after an Instagram post or tweet has faded into obscurity. Its longevity makes it one of the most valuable digital assets you can create.
A Long-Term Traffic Engine
What really sets Pinterest apart is the evergreen nature of its content. A well-optimized Pin doesn’t just vanish after a day.
It gets saved, it shows up in search results again and again, and it can send you consistent traffic for a very, very long time.
This is why learning how to post a pin the right way is a true investment in your future growth.
Every single pin you publish becomes a small, dedicated asset, constantly working to bring new people to your content and products.
Crafting a Pin That Actually Gets Clicks
Let’s be honest: just throwing an image up on Pinterest and hoping for the best doesn’t work.
A truly successful Pin is a mix of smart design and savvy marketing—it has to stop the scroll and give people a reason to click through.
It all starts with the visual. Pinterest is a vertical platform, so you need to play by its rules. A 2:3 aspect ratio (think 1000 x 1500 pixels) is your golden ticket.
This format fills the screen on mobile devices, where most users are scrolling. Make sure your images are crisp, bright, and high-quality. A blurry, dark photo is an instant scroll-past.
Design and Text Overlays Are Your Secret Weapon
Your image grabs their attention, but the text overlay is what really sells the click. This is your headline, and it needs to be bold, clear, and instantly communicate value.
Ask yourself: what problem am I solving for the user?
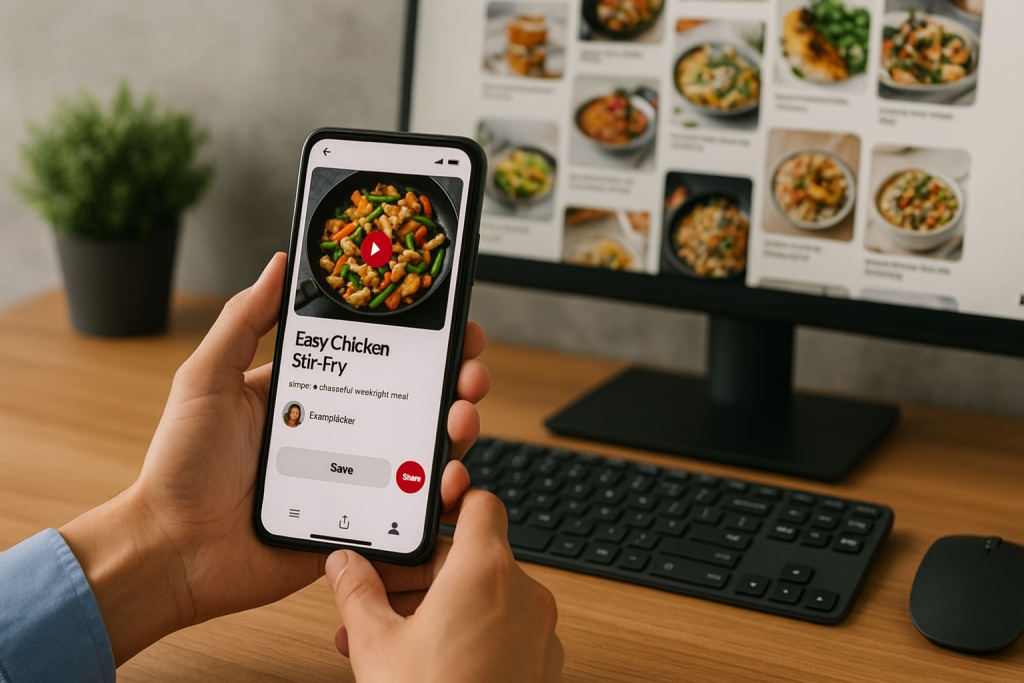
For instance, a food blogger shouldn’t just label a Pin “Chicken Recipe.” Something like “The Easiest 30-Minute Weeknight Dinner” speaks directly to a pain point and promises a solution.
It’s about the benefit, not just the subject. Use fonts that are easy to read and pick colors that pop against your background image.
Anatomy of a High-Performing Pin
To really nail this, you need to understand how all the different parts of a Pin work together. Think of it like a recipe for success.
This table breaks down the essential ingredients for a Pin that gets seen and clicked.
| Element | Best Practice | Why It Matters |
|---|---|---|
| Visuals | Use a 2:3 aspect ratio with bright, high-quality imagery. | Vertical pins are optimized for mobile feeds, grabbing more attention. |
| Text Overlay | Add a clear, benefit-driven headline in a readable font. | It instantly tells users what your Pin is about, encouraging clicks. |
| Title | Write a keyword-rich, compelling title (up to 100 characters). | This is a primary factor for Pinterest SEO and helps your Pin get discovered. |
| Description | Include relevant keywords naturally in a helpful, conversational description. | Provides context for users and the algorithm, improving search ranking. |
Mastering these components is key, but it’s also about the quality of the content you’re linking to.
For a deeper look at that side of the equation, check out this excellent guide on how to create high-quality content that ranks and converts. It’s a game-changer.
Key Takeaway: Your Pin’s title and description are not just captions; they are critical SEO elements. Use them to tell Pinterest exactly what your content is about and who it’s for.
Your Pin title is the hook, and the description provides the crucial context for both users and the Pinterest algorithm. You need to strategically weave in the keywords your audience is actually searching for.
So, instead of a generic title like “New Blog Post,” you’d want something far more specific and valuable, like “5 Simple SEO Tips to Boost Your Website Traffic.” It’s packed with keywords, promises a clear benefit, and gets right to the point.
If you want to dive even deeper into the creative side, our full guide on how to create Pins is loaded with more examples and templates to get you started.
Alright, let’s get your masterpiece out into the world. If you’re ready to post your Pin directly on Pinterest, I’ll walk you through exactly how I do it to make sure every Pin is set up for success from the get-go.
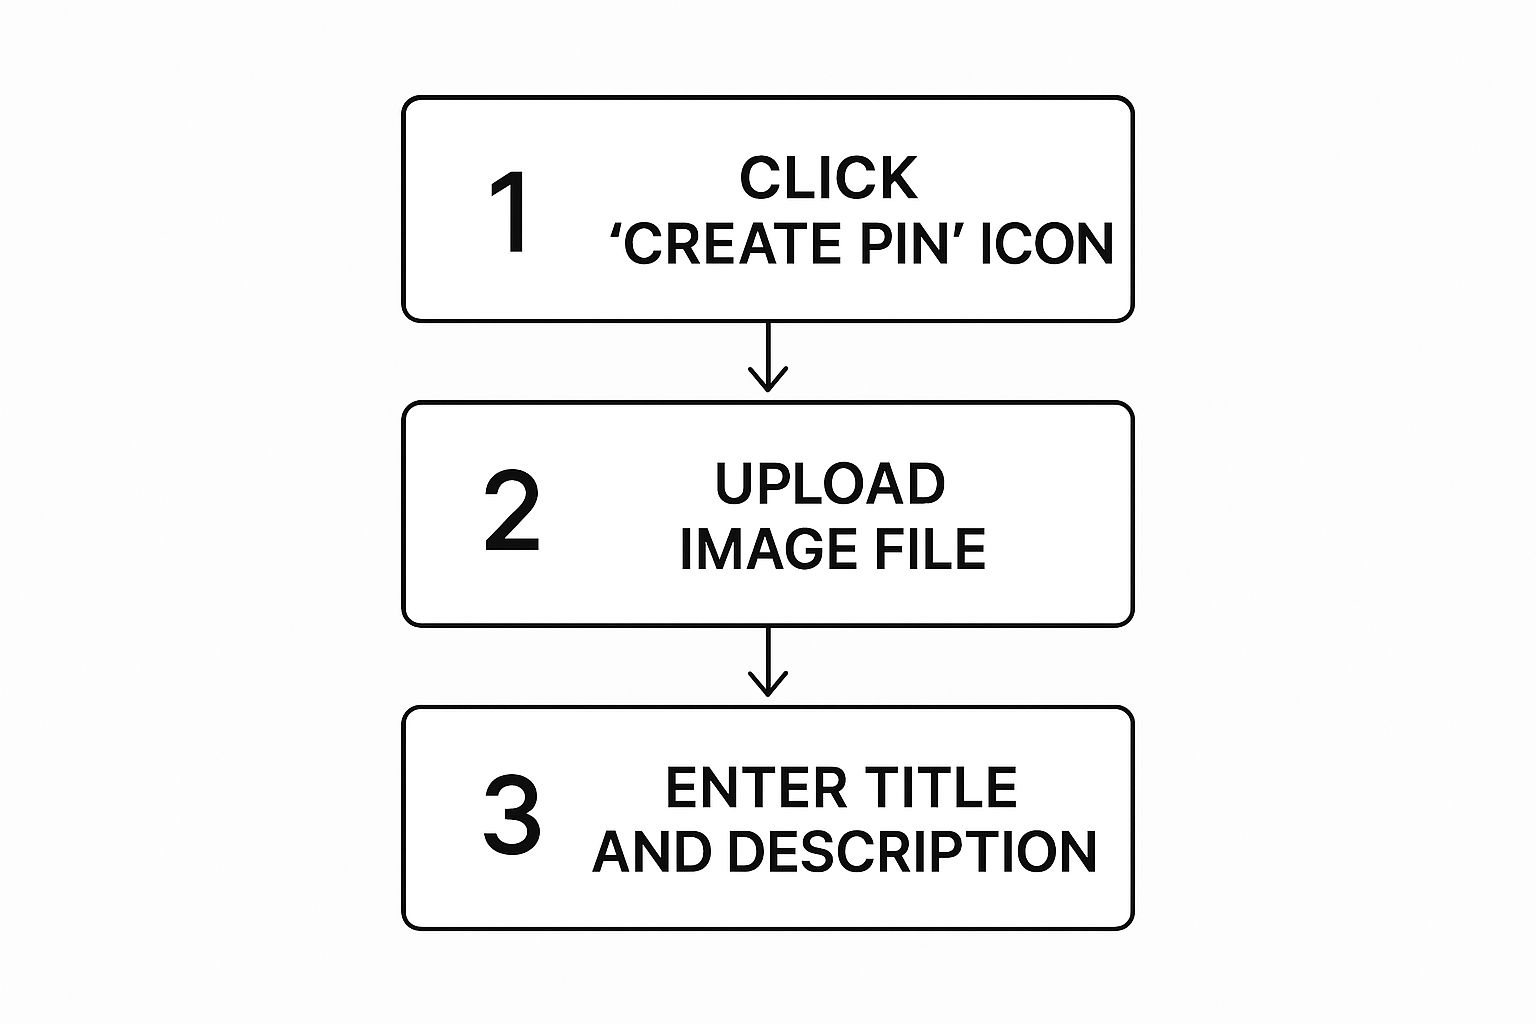
First things first, head over to your Pinterest profile. In the top-left corner, you’ll see a Create dropdown menu.
Go ahead and click that, then select Create Pin. This is your starting point, the blank canvas for your next piece of killer content.
Getting Your Visuals in Place
Now for the fun part. The Pin creation tool will prompt you to add your visual. You can either drag and drop your image or video right into the uploader, or you can click it to browse your files the old-fashioned way.
This is your chance to make someone stop scrolling. Your visual is everything on this platform, so make sure it’s a showstopper.
The dimensions matter a ton here, too. If you need a refresher, we’ve got a complete guide on the right Pinterest pin dimensions that I highly recommend bookmarking.
Adding the All-Important Details
With your visual uploaded, it’s time to bring it to life with words. This is where all that keyword research you did earlier pays off, helping your Pin get found by the right people.
Every field you fill out—from the title to the link—is another signal to the Pinterest algorithm about what your content is about and who should see it.
Here’s a quick rundown of the fields you’ll be working with and what I focus on for each:
- Choose a board: This seems simple, but it’s important. Pick the most relevant board for your Pin from the dropdown. A super-organized board tells both users and the algorithm exactly what your content is about.
- Title: This is your hook. Write a compelling, keyword-rich title that clearly tells people why they should click.
- Description: Think of this as your supporting argument. Expand on your title, sprinkle in a few more related keywords, and don’t forget a clear call to action. Tell people what they can expect on the other side of that click.
- Alt text: This is crucial for accessibility and SEO. Describe what’s in your Pin for visually impaired users. Be descriptive and try to naturally include your main keyword.
- Link: This is the whole point, right? Add the destination URL where you’re sending your traffic. I always give it a quick click before publishing just to be 100% sure it works.
My Two Cents: Don’t just copy and paste your blog post title. Your Pinterest title should be much more enticing.
For example, instead of “A Guide to Container Gardening,” try something like “5 Must-Have Veggies You Can Grow on Your Balcony Today.” See the difference? One is a statement, the other is a solution.
Using Pinterest SEO to Maximize Your Reach
Just publishing a Pin is only half the battle. Think of it like writing a great book but then just leaving it on a random shelf.
For people to find it, you need to make it discoverable. On Pinterest, that all comes down to mastering its unique search engine.
At its core, Pinterest is a visual search engine, and your job is to give its algorithm all the right signals so it knows exactly what your content is about.
This whole process really kicks off with keyword research. Don’t just guess what people are looking for. The best tool is right in front of you: the Pinterest search bar.
Type in a broad term like “home decor” and pay close attention to the autofill suggestions. When you see phrases like “home decor ideas living room” or “home decor on a budget,” you’ve struck gold.
These are the literal words your target audience is using to find inspiration.
Placing Keywords for Maximum Impact
Once you have a solid list of keywords, you need to know where to put them. These keywords act like signposts, guiding both users and the Pinterest algorithm straight to your content.
Your Pin’s title and description are the prime real estate, but don’t stop there. Your board titles and descriptions are just as important for building context.
I always focus on getting keywords into these key spots:
- Pin Titles: I try to put my most important keyword right at the beginning. It creates immediate relevance.
- Pin Descriptions: This is where you can naturally weave in your main keyword and a few related ones. The first sentence or two are the most critical.
- Board Titles: Be descriptive! A board titled “Easy Weeknight Dinner Recipes” is infinitely better than something vague like “My Fave Foods.”
- Image Alt Text: This is huge for accessibility and SEO. Describe what’s in the image and include your primary keyword if it fits naturally.
If you really want to do a deep dive and get your whole profile optimized, our guide on essential Pinterest SEO tips is a fantastic starting point.
My rule of thumb is to write for a human first, algorithm second. A keyword-stuffed description that sounds robotic will turn users away, defeating the purpose of getting discovered in the first place.
The Right Time to Post a Pin
Beyond keywords, timing can give your Pin the initial push it needs to get seen. Posting when your audience is scrolling gives it a much better shot at gaining early traction, which the algorithm loves.
Recent analysis of over 50,000 users shows that Sundays, Mondays, and Tuesdays tend to generate the highest engagement.
More specifically, the sweet spots are often midday (around 12 PM) and later in the evening between 8 PM and 10 PM on Sundays—right when people are relaxing and planning for the week ahead.
This is where a tool like Post Paddle can be a game-changer. Instead of manually trying to hit these perfect windows, you can let it automatically schedule your Pins for when they’ll have the most impact.
Taking Your Pins to the Next Level
Okay, so you’ve got the hang of posting your Pins organically. That’s a great start, but to really see explosive growth, you need to put some muscle behind your best-performing content.
This is where we move from just sharing ideas to actively building a marketing engine on Pinterest.
Two of the best ways to do this are with Video Pins and Idea Pins. I can’t overstate the power of video on this platform—people watch nearly 1 billion video Pins every single day.
Even better, those videos can make someone 55% more likely to make a purchase after watching. It’s a game-changer.
Putting a Budget Behind Your Winners with Promoted Pins
Think about it: you have a Pin that’s already getting great engagement from your followers. Why not show it to a wider, targeted audience? That’s exactly what Promoted Pins are for.
This isn’t just about throwing money at a post to get more views. Pinterest’s ad platform lets you get incredibly specific.
You can target people based on what they search for, what their interests are, and even their demographics. This means you’re not just reaching more people; you’re reaching the right people.
The numbers really speak for themselves here. Ads on Pinterest tend to bring in a 32% higher return on ad spend (ROAS) compared to other social media platforms.
Plus, they often have a 2.3 times lower cost for each conversion. If you want to dive deeper into the data, you can explore Pinterest advertising statistics and see just how powerful this can be.
My personal tip: Don’t go all-in with your ad budget right away. Find a Pin that’s already doing well organically and put a small budget behind it first.
See how it performs. This is a low-risk way to test the waters before you decide to scale up your spending.
As you start to explore paid promotion, it’s also a good idea to brush up on the fundamentals of engagement.
When you learn how to boost social media engagement effectively, every penny you spend on ads goes that much further. Your organic and paid strategies should work together, each making the other stronger.
Don’t Post Another Pin Without Checking These Essentials
Posting a Pin only takes a few minutes—but whether that Pin actually works for you long term comes down to the details.
Image size, text overlay, title, description, keywords, link… if any piece is off, you leave clicks and traffic on the table.
The Pin Optimization Checklist walks you through every step before you hit publish.
Use it to confirm your image is the right size, your title and description are keyword-rich and clear, your alt text makes sense, and your link points exactly where you want people to land.
Keep it open beside you as you upload new Pins, and you’ll quickly turn “one-and-done” posts into evergreen assets that keep bringing people back to your site.
Answering Your Top Pinterest Questions
When you’re first getting the hang of Pinterest, there are always a few questions that pop up. I see them all the time.
Getting these cleared up early will help you build a much stronger strategy and pin with a lot more confidence.
Let’s dig into some of the most common ones.
The first thing everyone wants to know is about volume. Just how many Pins should you be posting every day?
It’s a great question, but there isn’t a single magic number. The real key here is consistency, not quantity.
My advice? Aim for 1 to 5 fresh, high-quality Pins per day. It’s far more effective to publish one knockout Pin that’s perfectly optimized than it is to flood your feed with ten so-so ones.
Pinterest’s algorithm is smart—it rewards valuable content and a steady, reliable presence.
Can I Edit a Pin After I’ve Published It?
This is a big one, and the answer is yes… but with a huge catch. You can go back and edit the board it’s on, the section, the description, and even the website link it points to. That part is flexible.
The one thing you absolutely cannot change is the visual itself—the image or video file. Once it’s published, it’s locked in.
If you find a typo on your text overlay or decide a different photo would have worked better, your only option is to delete the Pin and start over.
My Two Cents: Always, always double-check your Pin’s image and any text on it before you hit that publish button. A quick 30-second proofread can save you the major headache of deleting and re-uploading later.
A Few More Key Things to Know
A couple of other basics can trip people up. Once you understand these distinctions, the whole platform makes a lot more sense.
- Pins vs. Boards: The easiest way to think about it is this: A Pin is a single idea, like a recipe or a DIY tutorial. The Board is the digital corkboard where you collect and organize those ideas. So, your “Healthy Dinner Recipes” board is where you’d save all your individual recipe Pins.
- What’s the Deal with Hashtags? Years ago, hashtags were a big deal on Pinterest. Not so much anymore. The platform’s search function now relies almost entirely on good old-fashioned keywords in your Pin title, description, and board names. Your time is much better spent writing a fantastic, keyword-rich description than trying to find the perfect hashtags. If you still want to use them, just add 2-3 super-relevant ones at the very end.