
Learning how to pin on Pinterest is actually pretty simple.
You’ve got two main options: either you create a brand-new Pin by uploading your own image, or you can save an existing Pin that you stumble upon while browsing.
Either way, you’re adding content to your personal collections, which Pinterest calls boards.
Think of it as your own digital scrapbook or mood board, making it a breeze to find those great ideas later.
Your Quick Guide to Pinning on Pinterest

So, you’re ready to start pinning. This is your fast track to getting the hang of it, whether you’re on a computer or your phone.
We’ll cover everything from creating a Pin from scratch to saving ideas you find from others and even grabbing inspiration from other websites using a handy browser extension.
Consider this your cheat sheet for mastering the platform’s core functions. The real magic of Pinterest is making your content easily shareable.
When you do it right, a single Pin can keep driving traffic to your site for months—sometimes even years—which is a lifespan most social media posts can only dream of.
One thing to remember is that Pinterest acts more like a visual search engine than a typical social media platform. People come here with a purpose; they’re actively looking for ideas, solutions, and products to buy.
Before we dive in, let’s get the terminology straight. Understanding these core actions will help you navigate Pinterest confidently right from the start.
Core Pinterest Actions Explained
This quick-reference table breaks down the essential terms you’ll see all over the platform.
| Action/Term | What It Means | When to Use It |
|---|---|---|
| Pin | A visual bookmark that links back to a website or online source. | Use it to save any idea, product, or article you find. |
| Board | A collection where you organize your Pins by theme or topic. | Create boards for projects, interests, or inspiration. |
| Save | The act of adding an existing Pin to one of your boards. | Use this when you find a Pin you love from another user. |
| Create Pin | Uploading your own image or video to make a new Pin. | Use this to share original content from your website or blog. |
Once you’ve got these basics down, you’re ready to start building your presence and sharing what you love.
Set Up Your Profile for Pinning Success
Before you even think about creating your first pin, we need to get your profile ready for prime time. Think of your profile as the front door to your brand on Pinterest.
It’s what tells potential followers who you are, what you’re about, and why they should stick around. Getting this right is the foundation for everything else you’ll do.
First thing’s first: you absolutely need a Pinterest Business account. This is non-negotiable if you’re serious about growth.
It unlocks all the good stuff—analytics, advertising tools, and Rich Pins—that turn your profile from a simple hobby board into a powerful marketing tool. If you haven’t made the switch yet, our guide on how to create a Pinterest business account walks you through it.
Craft Your Bio and Claim Your Website
Your bio is your 15-second elevator pitch. In a few quick lines, you need to nail down what you do, who you help, and the kind of value people will find in your pins.
Weave in a few relevant keywords naturally so the right people can find you when they search.
Next up, you have to claim your website. It’s a small step that makes a huge difference. Claiming your site adds that little globe icon to your profile, instantly signaling you’re the real deal.
More importantly, it gives you access to analytics for every pin that comes from your site, building trust and authority with your audience.
A well-crafted profile doesn’t just look good—it strategically positions you to attract your ideal audience. Think of it as setting the stage for every Pin you’ll ever share, ensuring your content finds the right home.
This setup is crucial when you look at who’s actually on Pinterest. For example, Gen Z now represents 42% of Pinterest users, a massive and growing demographic.
On top of that, 45% of American Pinners come from households earning over $100,000 annually. This isn’t just a casual audience; they have real purchasing power.
To wrap it up, add a professional, high-quality profile photo and a cover image that really speaks to your brand’s personality. This is your chance to make a strong first impression that sticks.
How to Create a Pin from Scratch
Alright, let’s get to the good stuff. Saving other people’s Pins is great for inspiration, but creating your own is how you actually build a brand and drive traffic.
This is your moment to showcase what you offer—whether it’s a killer blog post, a new product, or a brilliant idea—and turn casual scrollers into genuine fans and customers.
A high-performing Pin isn’t just a pretty picture; it’s a strategic combination of visuals and text designed to make someone stop mid-scroll and pay attention.
The first rule of Pin creation? Think vertical. Since over 85% of Pinterest activity happens on mobile, a vertical Pin takes up more precious screen real estate.
To really make your Pins pop, you need to optimize your pins with correct social media dimensions. The gold standard is a 2:3 aspect ratio, so think 1000 x 1500 pixels.
The Anatomy of a High-Performing Pin
To create a Pin that people actually click on, you need to nail a few key elements. Think of it as feeding the Pinterest algorithm exactly what it needs to understand your content and show it to the right people.
Here’s the breakdown of what every great Pin needs:
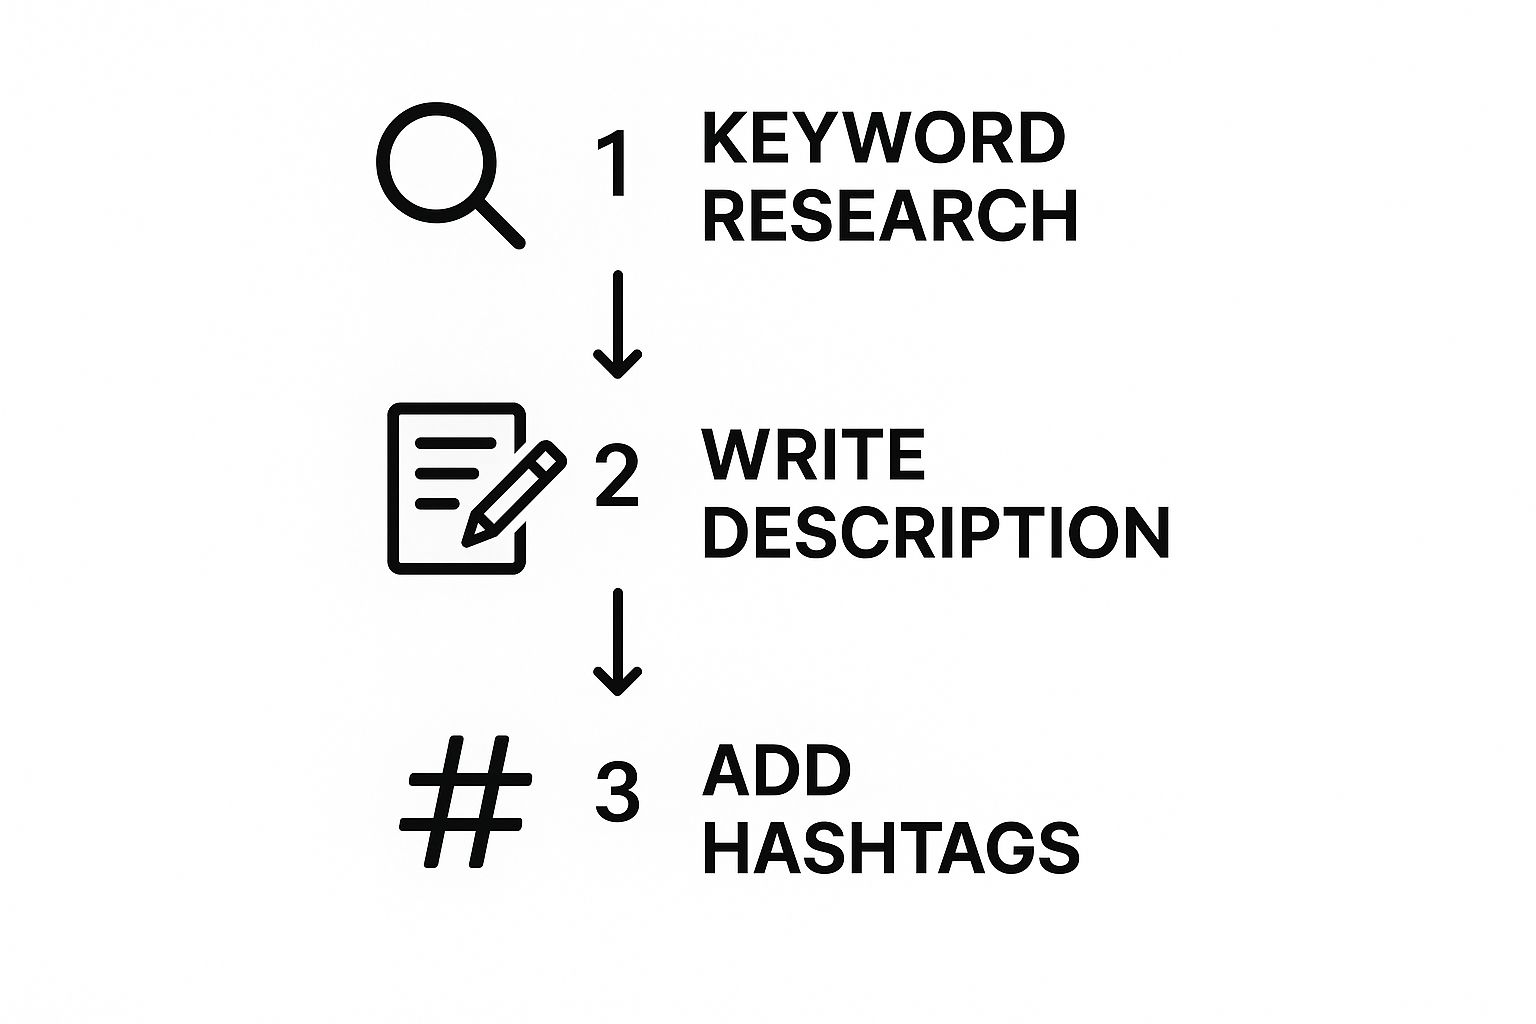
- A Solid, SEO-Friendly Title: Your title has one job: to be clear, grab attention, and include your main keyword. Put yourself in your audience’s shoes—what words would they type into the search bar to find what you’re offering?
- A Keyword-Rich Description: This is where you elaborate. Weave in your main and secondary keywords naturally to tell users (and Pinterest) what your Pin is about and why they should click.
- The All-Important Destination Link: Don’t ever forget this! This is the URL that sends people to your blog post, your product page, or wherever you want them to go. This is how you get traffic.
- Alt Text: This is a short description of the image for visually impaired users. It also gives Pinterest another clue about your content, which is a nice little SEO bonus.
This screenshot shows exactly where all these pieces go when you’re creating a Pin. It’s a straightforward interface designed to make sure you don’t miss anything.
As you can see, the title, description, alt text, and link fields are all clearly marked, guiding you through the process.
If you want to go even deeper into the design side of things, our full guide on how to https://www.postpaddle.com/blog/create-a-pin-for-pinterest is packed with more advanced tips.
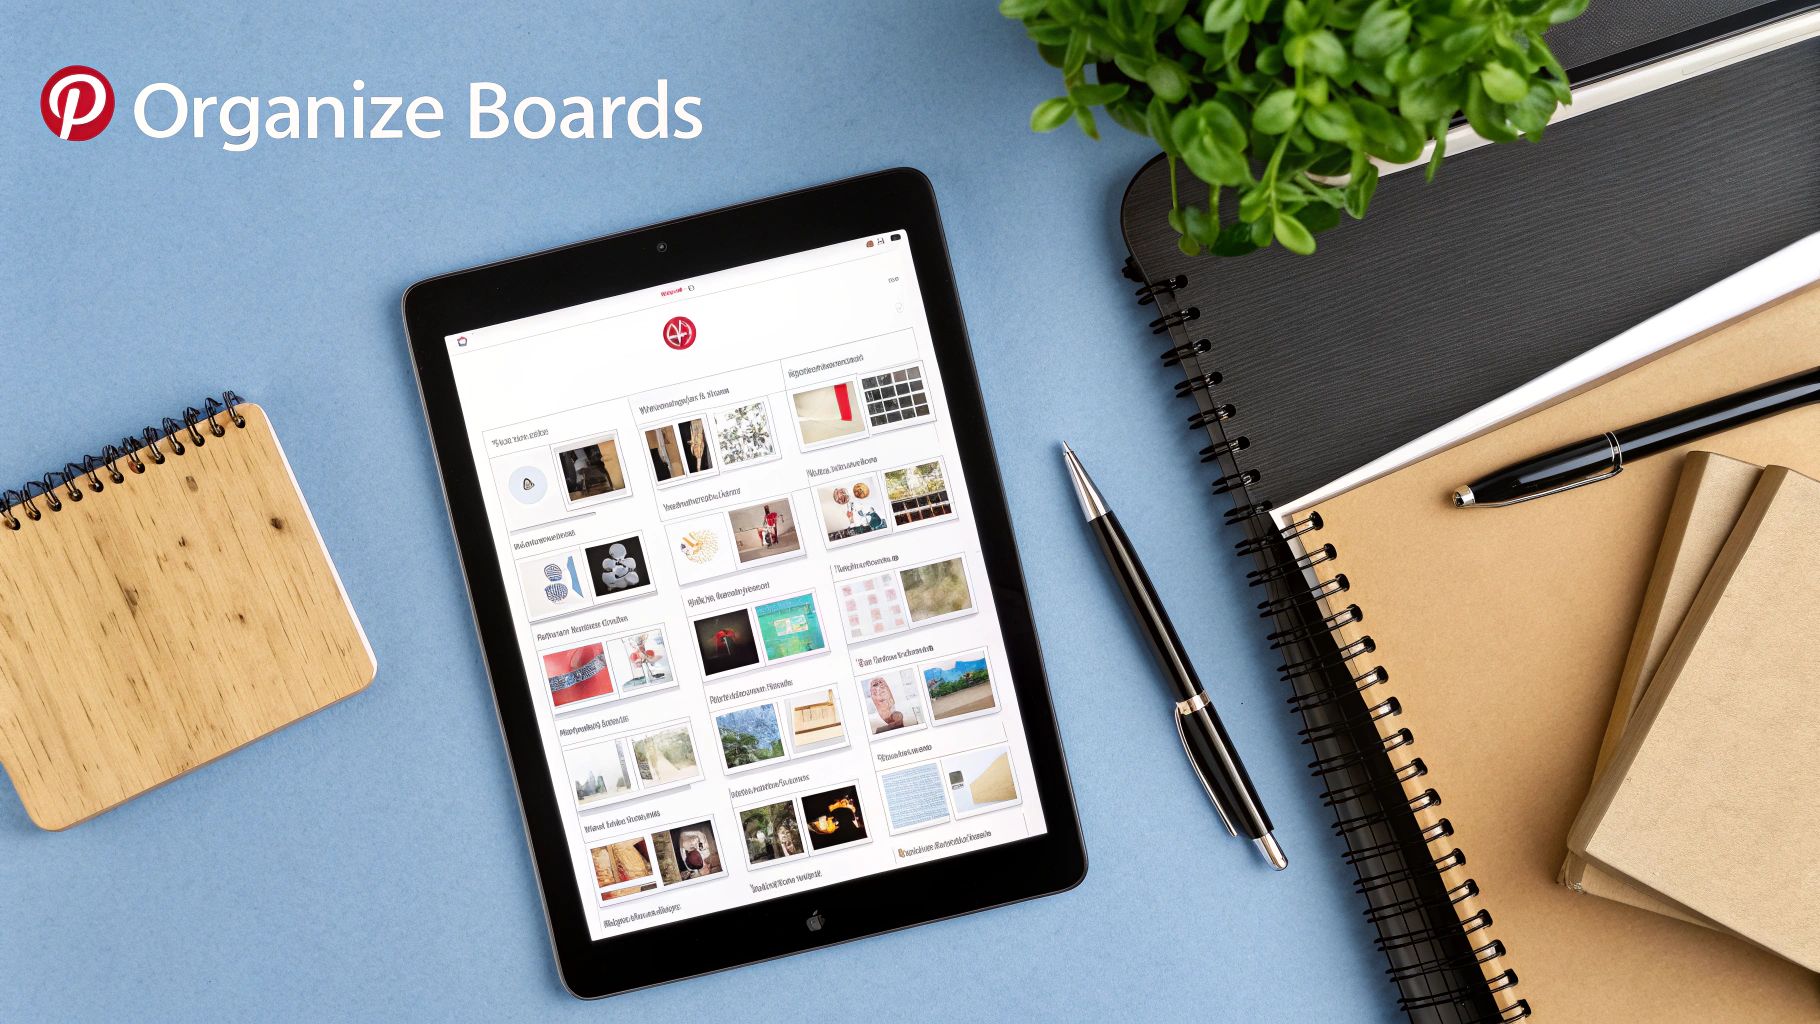
Get Your Ideas Organized with Pinterest Boards
Let’s be honest, pinning without a plan is a recipe for chaos. It’s like throwing a bunch of great ingredients into a bowl with no recipe—you end up with a mess.
This is exactly why Pinterest boards are so crucial. Think of them as your digital corkboards or project folders where you can neatly sort every great idea you find.
Using boards turns your profile from a random jumble of images into a genuinely useful resource for your followers.
Every single board you create is a signal to both your audience and the Pinterest algorithm, telling them what you’re all about.
A smartly named board packed with a keyword-rich description is your secret weapon for getting discovered. It helps people searching for exactly what you offer find you.
Getting this organizational piece right is fundamental to mastering Pinterest.
Public, Secret, and Group Boards: Know the Difference
Not all boards are created equal, and knowing how to use each type is key to both your growth and your sanity.
- Public Boards: These are the heart and soul of your public-facing profile. They’re visible to everyone and should be filled with Pins that align with the topics you want to be an authority on. For instance, if you’re a home decor blogger, you’d have boards like “Modern Farmhouse Living Rooms” or “DIY Bookshelf Ideas.”
- Secret Boards: Think of these as your private workspace. They’re visible only to you and anyone you specifically invite. I use them all the time for things I’m not ready to share yet—a future blog post series, a surprise product launch, or even just a mood board for a rebrand I’m considering.
- Group Boards: These are collaborative spaces where multiple pinners can contribute. Getting into a few high-quality, relevant group boards can be a game-changer, putting your content in front of a massive, engaged audience that’s already interested in your niche.
A smart board strategy isn’t just about tidying up. It’s about building a strong brand identity, boosting your profile’s searchability, and giving your followers a much better experience so they stick around longer.
In the end, boards give your Pins a home and a purpose. For a much deeper look into setting them up for success, check out our guide on what are Pinterest boards and how to make them work for you.
When you have a logical structure in place, every single Pin you add starts working toward a larger strategy to attract your perfect audience.
Level Up Your Pinning Game for Maximum Engagement
Alright, you’ve got the hang of creating and organizing Pins. Now, let’s move beyond just pinning and start thinking like a true content strategist.
To really get noticed on Pinterest, you need to explore its more dynamic features and figure out how to stay consistent without being glued to your screen.
The potential here is massive. We’re talking about a platform with over 500 million people browsing every month and 1.5 billion Pins being saved each week.
Video is a huge part of this—users are 55% more likely to buy something after watching a Video Pin. That’s a big deal. You can dig into more of these Pinterest stats over at Thunderbit if you want to see the full picture.
Pick the Perfect Pin Format
Different goals call for different types of Pins. If you just stick to one format, you’re leaving engagement on the table. Mixing it up keeps your boards interesting and gives you more ways to tell your story.
Here’s a quick rundown of your main options:
- Video Pins: These are your secret weapon. Use them for tutorials, product demos, or a peek behind the curtain. The movement alone is enough to stop someone mid-scroll.
- Idea Pins: Think of these as mini-guides or stories. They’re perfect for step-by-step instructions or sharing a collection of tips. Best of all, they don’t disappear, giving them a much longer shelf life than stories on other platforms.
- Product Pins: An absolute must for anyone selling online. These Pins automatically update with live pricing and stock information from your site, making it incredibly easy for users to go from discovery to purchase.
The real trick is matching the format to your message. A simple recipe is a perfect fit for an Idea Pin, while a complex woodworking project probably needs a full-blown Video Pin to do it justice.
To make your content truly stand out, it’s not just about what you show, but how you show it. When you master visual storytelling techniques, you can turn a simple Pin into something that genuinely connects with people.
Finally, remember that consistency beats intensity every time. Pinning 30 things in one day and then going silent for a week won’t get you far. It’s better to maintain a steady, predictable rhythm.
You can use Pinterest’s own scheduler or a tool like Post Paddle to map out your content ahead of time. This lets you show up consistently when your audience is online, keeping your profile active and growing.
Let AI Handle Your Pinterest Titles and Descriptions
Now that you know how to pin things the right way, the real challenge is keeping up with all the ideas, titles and descriptions you need to post consistently. Staring at a blank Pin editor every day isn’t a strategy—it’s a bottleneck.
That’s where Pinterest GPTs comes in. These AI-powered tools are built specifically for Pinterest, helping you generate scroll-stopping Pin titles, keyword-rich descriptions, content ideas and even board concepts in just a few clicks.
Use them whenever you’re planning new content, repurposing blog posts or filling your scheduler. Instead of spending 20 minutes writing copy for one Pin, you’ll have multiple optimized variations you can test in a fraction of the time.
If you want to move from “I know how to pin” to “I have a steady flow of high-quality Pins ready to go,” this is your next move.
Common Questions About Pinning on Pinterest

Even after you get the hang of pinning, a few questions always seem to pop up. Nailing down the answers to these common hurdles will make your Pinterest strategy so much more effective.
Let’s walk through some of the things people ask all the time.
A big one I hear is whether you can share a link without a picture. The answer is a hard no. Pinterest is fundamentally a visual discovery engine, meaning every single Pin needs an image or a video to exist. It’s the visual that stops the scroll and gets people interested in the first place.
Can I Pin Without an Image?
So what do you do if you want to share an amazing article that doesn’t have a great photo? You’ll need to create a simple graphic for it.
This is where a tool like Canva becomes your best friend. You can quickly whip up an on-brand, vertical image with a catchy title that practically begs to be clicked.
Another point of confusion I see a lot is the difference between saving and creating a Pin. They sound similar, but they serve very different purposes.
Creating a Pin is when you’re uploading brand-new, original content. You’re taking an image or video from your computer or website and adding your own title, description, and destination link.
This is how you get your unique ideas out into the Pinterest ecosystem.
Saving a Pin, on the other hand, is what you do when you find someone else’s great Pin and add it to one of your boards. You might know this as “repinning.”
It’s a fantastic way to curate helpful content for your followers and build out your boards with valuable resources.
How Often Should I Be Pinning?
And now for the million-dollar question: how many times a day should you actually be pinning?
There’s no single magic number here, but I can tell you that consistency is far more important than volume.
Most seasoned pinners suggest aiming for anywhere between 3 to 15 Pins per day. The real key is to focus on sharing high-quality, relevant content on a regular schedule, rather than dumping 30 pins at once and then disappearing for a week.
A good scheduler is essential for spreading your Pins out and reaching your audience at the best times.