So, what does it actually mean to “pin” something on Pinterest?
At its simplest, pinning is just saving a visual bookmark, an image or video to one of your boards.
Think of it like a digital mood board or an idea library for anything and everything that catches your eye.
It’s a straightforward way to organize cool stuff you find online or to upload and share your own unique ideas with the world.
What It Really Means to Pin on Pinterest
Before we get into the nitty-gritty of how to pin, it’s crucial to grasp the why. This isn’t just about saving pretty pictures.
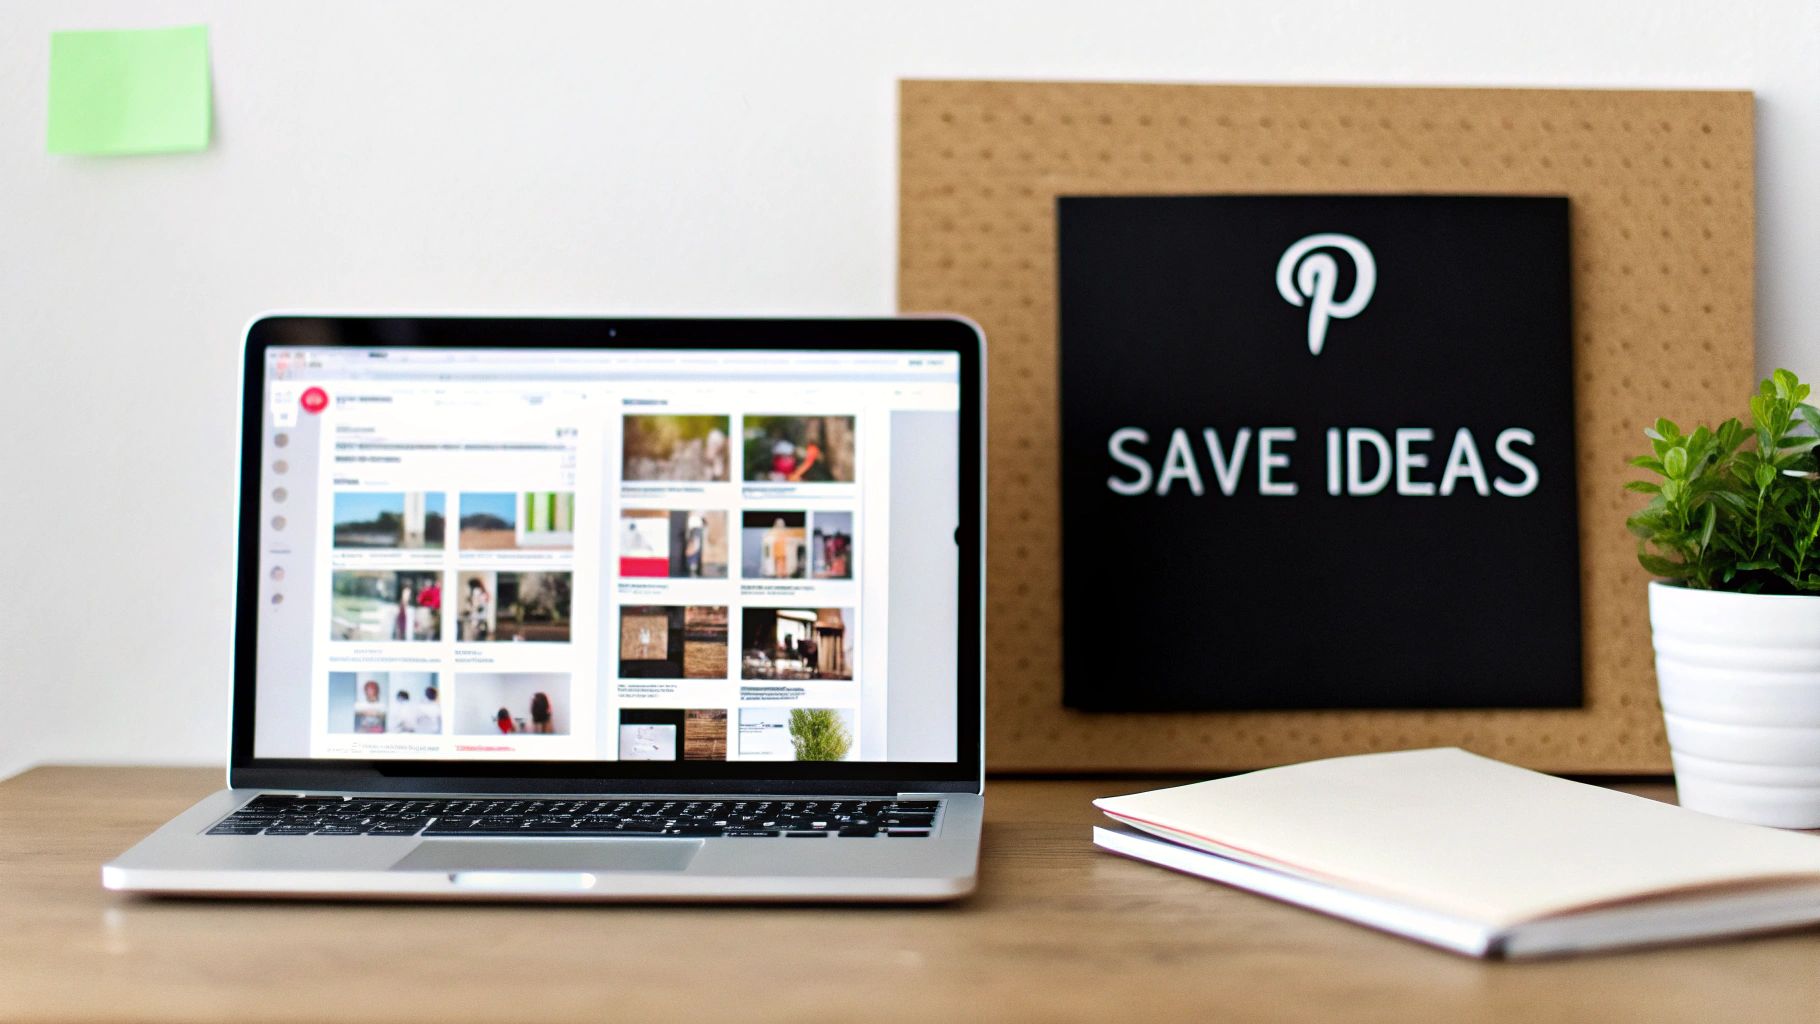
When you pin, you’re actively participating in a massive visual search engine.
Each pin you save helps you build a collection that reflects your tastes, your plans, or your business.
This simple act is a signal to the platform’s algorithm, teaching it what you love and, in turn, connecting your ideas with a huge, motivated audience looking for inspiration.
Before we go further, let’s nail down some of the basic language you’ll see on the platform.
If you’re new to Pinterest, some of the terms can be a bit confusing.
Key Pinterest Terms for Beginners
| Term | What It Means | Why It Matters |
|---|---|---|
| Pin | A single piece of visual content (image or video) saved to Pinterest. | This is the fundamental unit of content on the platform. |
| Board | A themed collection where you organize your Pins. | Boards help you categorize your ideas (e.g., “Kitchen Remodel,” “Fall Recipes”). |
| Repin (or Save) | Saving someone else’s Pin to one of your own boards. | This is how you curate content and engage with the community. |
| Feed | The stream of Pins you see when you open Pinterest, based on your activity. | Your feed is personalized to show you content the algorithm thinks you’ll like. |
Getting a handle on these terms is the first step. Once you’ve got them down, you’ll find navigating and creating on Pinterest much more intuitive.
Original Pins vs Repins
The content flowing through Pinterest generally falls into two buckets. A smart strategy uses a healthy mix of both.
- Original Pins: These are fresh images or videos you upload yourself. They are your unique contributions—a recipe you just perfected, a product from your online shop, or a brand-new graphic for your latest blog post.
- Repins (or Saves): This is when you find a Pin you love and save it to one of your own boards. Repinning is an act of curation. It helps you build out your boards with great content and shows you’re active in the community.
For example, a user might create an Original Pin of their handmade jewelry. You could then Repin it to your “Style Inspiration” board, helping their content reach your followers.
At its core, Pinterest is a planning tool. Over 85% of weekly users have bought something based on Pins they saw from brands.
That shows a powerful, direct line from inspiration to purchase.
A Powerful Discovery Engine
Every single pin you create or save sends a signal. Pinterest’s algorithm looks at your pin’s title, description, and even the image itself to figure out what it’s about.
Then, it shows that pin to people searching for related ideas.
With 570 million monthly active users around the globe, this creates an incredible opportunity for your content to be discovered.
Your pin about “minimalist home decor” could pop up in the feeds of thousands of people planning their next renovation.
This massive, purchase-driven user base, as detailed in recent Pinterest trends from Thunderbit, makes the platform an essential tool for both personal projects and business growth.
Getting Your First Pin Published
Alright, ready to get your first idea out into the world? The process itself is pretty simple, but paying attention to a few key details is what separates a Pin that gets seen from one that disappears.
Let’s walk through it with a real-world example. Imagine you just wrote a blog post called “Healthy Weeknight Dinner Recipes” and you want to drive traffic to it.
Everything starts with the little ‘+’ icon on your Pinterest profile. Click that, select “Create Pin,” and you’re at the starting line. This is your blank canvas.
The Visual Is Everything
First things first, you need to upload your visual. This can be a single image, a video, or even a carousel of several images.
For our “Healthy Weeknight Dinners” example, we’d want a mouth-watering, vertical photo of one of the finished meals.
The visual is your scroll-stopper. It’s what makes someone pause and take a closer look.
If you’re new to the platform and want a detailed walkthrough of just the upload process, our guide on how to upload pictures on Pinterest has you covered.
Once you upload your image, you’ll see a screen with several fields to fill out.
Think of each of these fields as a clue you’re giving the Pinterest algorithm. The more clues you provide, the better it can match your Pin with the right audience.
Nailing the Details
With your visual locked in, it’s time to add the words that give it context. This is how you turn a pretty picture into a resource people actually want to save and click on.
- Choose the Right Board: This is your first organizational step. From the dropdown menu, pick the most relevant board you have. For our recipe, the “Healthy Recipes” board is the obvious choice.
- Write a Powerful Title: Be specific and use keywords people are actually searching for. Instead of just “Dinner Recipe,” go with something like “Quick and Healthy Chicken Stir-Fry Recipe.” Much better, right?
- Craft a Helpful Description: This is your space to sell the click. Briefly explain what makes your recipe great and sprinkle in related keywords. Think like a user: what would they search for? Try adding phrases like “30-minute meals,” “easy dinner ideas,” and “healthy cooking.”
- Don’t Skip the Alt Text: This is crucial for accessibility and for search engines. Describe what’s in the image. For ours, something like, “A colorful chicken and vegetable stir-fry in a white bowl, garnished with sesame seeds,” is perfect.
- Add Your Destination Link: This is the whole point! Paste the URL to your blog post here. This is what turns a Pinterest viewer into a website visitor.
A Pin without a link is a dead end. Every single Pin you create should lead the user somewhere valuable, whether it’s a blog post, a product page, or a landing page. It’s a massive missed opportunity otherwise.
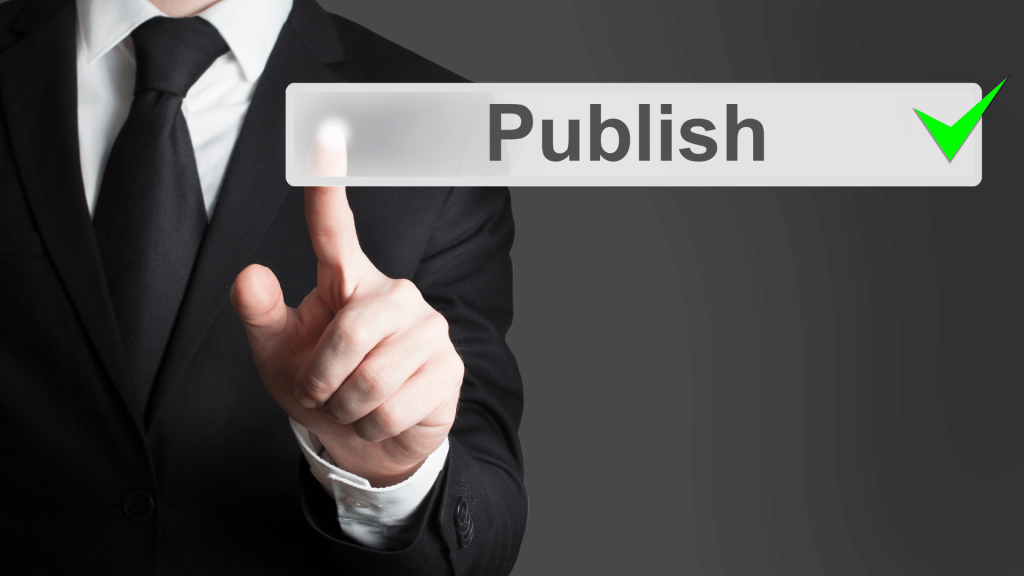
Finally, you’ll see two options: Publish immediately or Publish at a later date. Scheduling is a game-changer for staying consistent without having to be online 24/7.
Crafting great visuals and copy is an art, and if you want to go deeper, there are some great resources on mastering content creation on social media.
Once everything looks good, hit that “Publish” button. Just like that, your Pin is live and you’ve officially learned how to pin on Pinterest
Getting Your Pins Seen: A Guide to Pinterest SEO
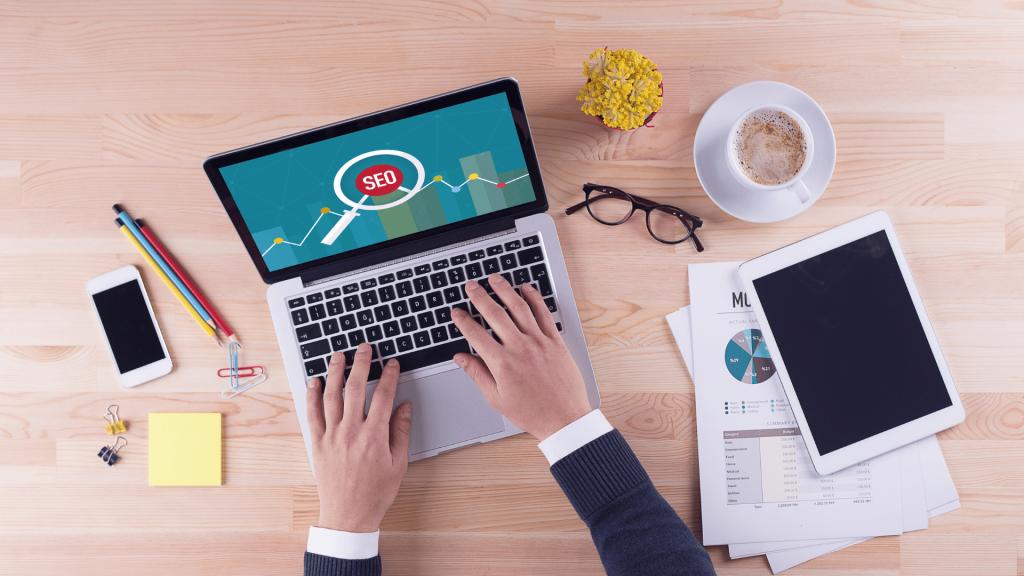
Getting your Pin published is just the first step. The real goal is to get it in front of the right people, and that’s all about mastering Pinterest SEO.
You don’t need to be an SEO wizard; you just need to think like a Pinner.
Start by using the Pinterest search bar itself as your primary keyword research tool.
Before you even think about a title, type in your main topic—say, “home office ideas.” Watch the autocomplete suggestions that pop up.
Those aren’t just guesses; they are the exact terms people are actively searching for.
Sprinkling these keywords naturally into your Pin’s title and description is the most effective way to help your content surface when someone is looking for exactly what you’re offering.
Creating Pins That Stop the Scroll
The visual is your first, and often only, chance to grab someone’s attention. A stunning image is a great start, but a few technical tweaks can make all the difference in a fast-moving feed.
- Go Vertical: Always aim for a 2:3 aspect ratio (think 1000 x 1500 pixels). Vertical Pins simply take up more valuable space on a phone screen, making them harder to miss.
- Keep it Crisp: Blurry or pixelated images are a fast track to getting ignored. High-quality, clear visuals always win.
- Add a Text Overlay: A simple, bold headline on the image itself makes your Pin’s value proposition instantly clear. For a blog post, something like “5 Genius Hacks for a Tiny Home Office” tells a user exactly what they’ll get by clicking.
This core loop, uploading a great visual, describing it with the right keywords, and publishing—is the foundation of every single successful Pin.

Nailing these fundamentals ensures your content isn’t just pretty to look at but is also built to be found by the Pinterest algorithm.
You can also give your Pins a little extra boost with a few carefully chosen hashtags. They aren’t as critical here as they are on platforms like Instagram, but they can definitely help with discovery.
For a more detailed breakdown, we’ve got you covered in our guide here: https://www.postpaddle.com/blog/can-you-use-hashtags-on-pinterest.
Remember, visibility on Pinterest is a marathon, not a sprint.
A few high-quality, well-optimized Pins each week will always outperform a huge batch of mediocre ones uploaded in a single day.
Knowing the audience is also part of the strategy. A staggering 70% of Pinterest’s global users are women, and with average sessions lasting over 14 minutes, people are here to plan and discover, not just scroll.
This deep engagement is why the platform drives 33% more referral traffic to shopping sites than Facebook.
If you’re monetizing your work, like with an Etsy shop, this audience is invaluable.
Tapping into that mindset is key, and resources like this expert guide on selling digital art can provide a ton of insight for tailoring your Pin strategy to drive sales.
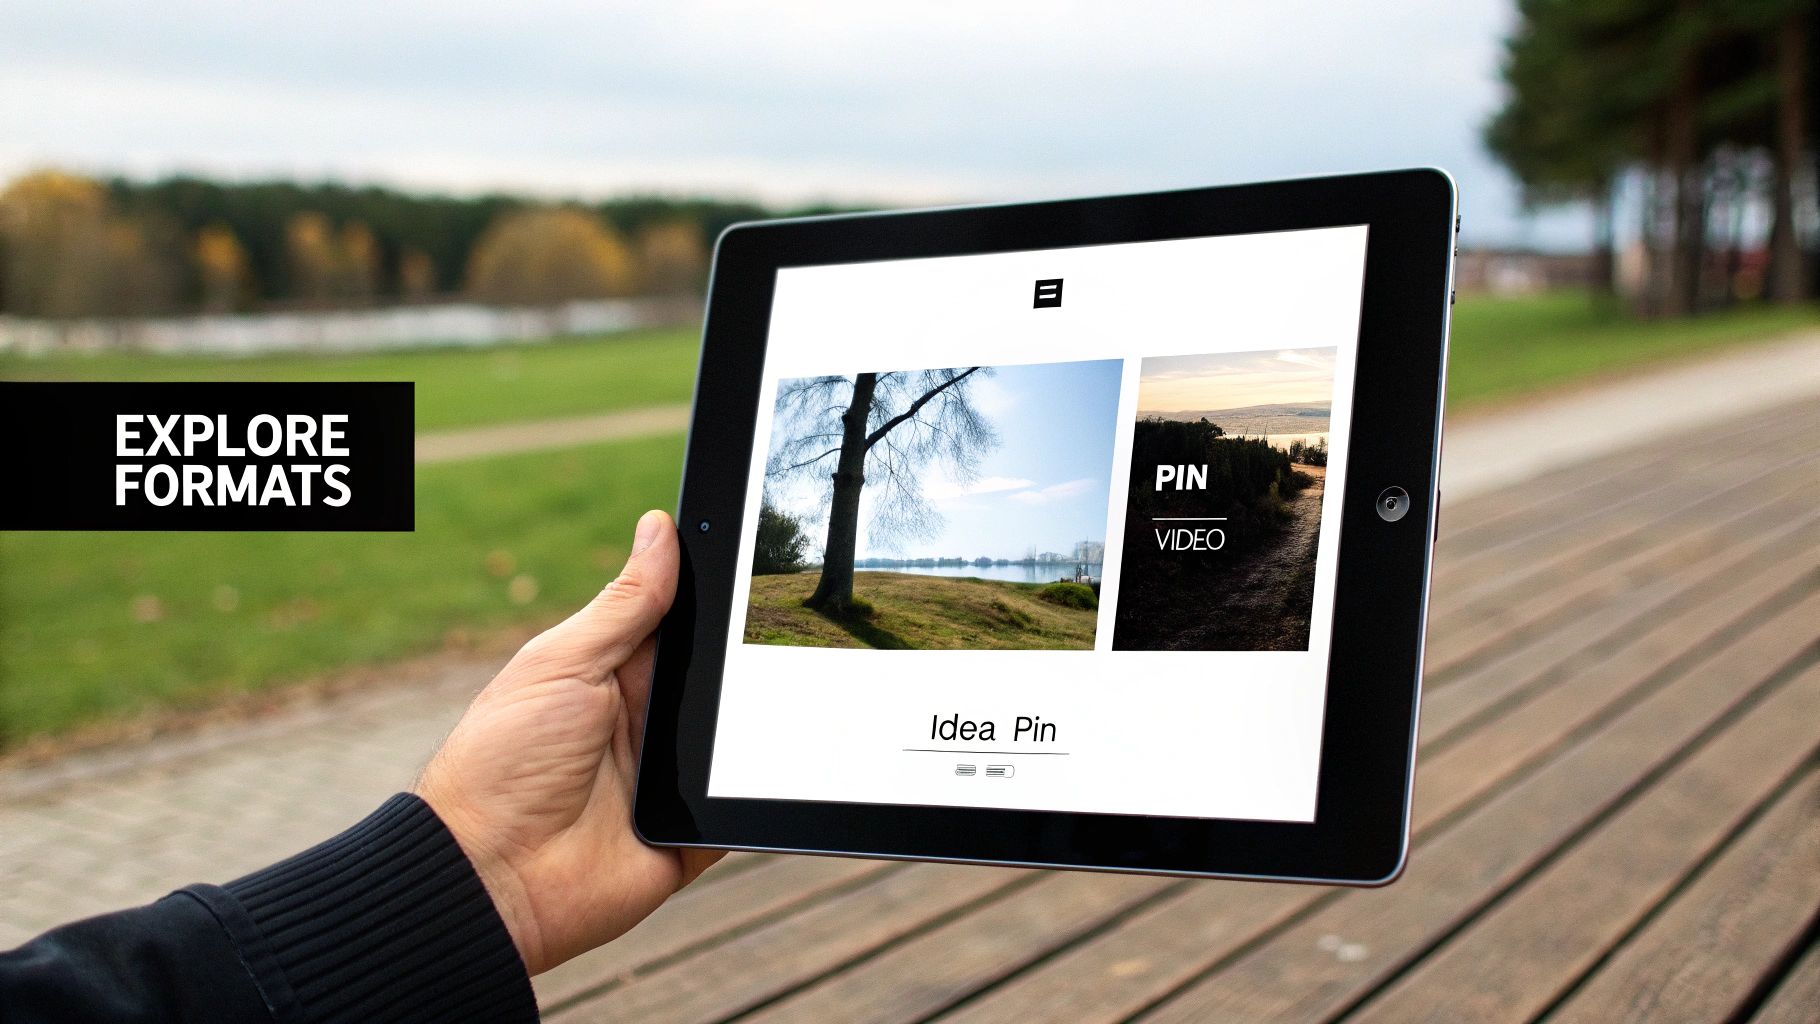
Explore Different Types of Pins
Once you’ve got the hang of creating standard image Pins, it’s time to play with other formats to keep your content fresh and engaging.
Pinterest has evolved way beyond static images, offering a whole suite of Pin types designed for different goals.
Think of these formats as different tools in your marketing toolkit.
Using the right one can make all the difference in telling your story and connecting with your audience.
Video Pins For Dynamic Storytelling
Let’s be real: video grabs attention in a way a static image just can’t.
A well-made Video Pin is perfect for showing a process, demonstrating a product in action, or just telling a more compelling story.
My advice? Keep your videos short and punchy. You need to capture interest within the first 3 seconds.
Since most people browse with the sound off, always add on-screen text or captions to get your message across.
For the nitty-gritty on specs, our guide to Pinterest image dimensions has you covered for video, too.
Idea Pins For Multi-Page Narratives
Idea Pins are basically Pinterest’s version of the “story” format you see everywhere else. They let you bundle multiple pages of videos, images, and text into one immersive Pin.
This is an absolute game-changer for step-by-step tutorials, recipes, or giving a behind-the-scenes look at your brand.
Because they have multiple parts, Idea Pins get users to tap through and spend more time with your content.
That extra engagement is like gold to the Pinterest algorithm and can seriously boost your reach.
Think of Idea Pins as mini-guides. A fashion blogger could create one showing five ways to style a single scarf, or a DIY enthusiast could detail a small home project from start to finish.
Product Pins For E-commerce
If you sell anything online, you need to be using Product Pins. These are special, dynamic Pins that pull real-time pricing and availability straight from your website.
This means if a product goes on sale or sells out, the Pin updates automatically. It creates a super smooth path from discovery to purchase, turning Pinners into customers.
Honestly, they’re a game-changer for driving direct sales from the platform.
Standard Pin vs Idea Pin vs Video Pin
Not sure which format fits your content? Here’s a quick breakdown to help you decide what works best for your specific goals.
| Feature | Standard Pin | Idea Pin | Video Pin |
|---|---|---|---|
| Main Purpose | Driving traffic to an external URL (blog, product page). | Building brand awareness and on-platform engagement. | Capturing attention and demonstrating processes. |
| Link | 1 outbound link per Pin. | No direct outbound links on individual pages. | 1 outbound link per Pin. |
| Format | Single static image or a very short, simple GIF. | Multi-page format with videos, images, and text overlays. | Single video file, typically 5–60 seconds long. |
| Best For | Blog posts, product listings, lead magnets. | Tutorials, recipes, storytelling, brand introductions. | Product demos, DIYs, quick tips, animated graphics. |
| Lifespan | Evergreen; can drive traffic for months or even years. | Pushed heavily by the algorithm initially, then less so. | Good initial reach; can perform well long-term. |
Choosing the right Pin format is all about matching your content to your objective. Want to drive clicks to a new blog post?
A Standard Pin is your best bet. Want to show off a complex recipe? An Idea Pin is perfect. Mix and match them to build a robust and effective Pinterest strategy.
Common Pinning Mistakes to Avoid
Diving into Pinterest feels straightforward, but it’s surprisingly easy to make a few rookie mistakes that can seriously stunt your growth.
If you can steer clear of these common pitfalls from the get-go, you’ll build much stronger habits and see your efforts pay off a lot sooner.
The most glaring mistake I see all the time? Using low-quality or incorrectly sized images.
A blurry or horizontal photo just disappears on a platform built for sharp, eye-catching vertical content.
Another classic trap is something I call “pin dumping.” This is when you get a burst of inspiration and upload 20 or 30 Pins all at once, expecting a flood of traffic.
But here’s the thing: the Pinterest algorithm really values consistency.
It’s way more effective to spread those Pins out over the week than to post them all in one massive batch.
Vague Descriptions and Broken Links
Your Pin’s description is your secret weapon for telling both people and the Pinterest algorithm what your content is all about.
Writing something generic like “cool idea” or, even worse, leaving it totally blank is a massive missed opportunity.
You need to be specific, weave in your keywords, and clearly explain what someone will get when they click.
Just as bad are broken or misleading links. Nothing kills momentum like a user clicking through, only to hit a 404 error page.
Always, always double-check that your destination URL works and takes people exactly where your Pin promised. A broken link creates a frustrating experience, and that’s a big red flag for Pinterest.
A winning Pinterest strategy isn’t about sheer volume; it’s about consistency and quality. A handful of thoughtfully created Pins, scheduled strategically, will always beat 30 Pins dumped on a Monday morning.
Finally, don’t forget about your boards! A jumble of unorganized boards with vague titles like “My Stuff” or “Ideas” does you no favors. It confuses followers and makes it harder for Pinterest to categorize your content.
Take the time to create well-named, niche boards—it’s a simple step that massively boosts both user experience and discoverability.
Make Sure Every Pin You Publish Is Set Up for Success
When you’re just starting out, it’s easy to focus on the image and forget the small details that actually help your Pins get seen, things like size, keywords, descriptions, and links.
Those “little” pieces are exactly what tell Pinterest who to show your Pin to and why it matters. Miss them, and even your best ideas can quietly disappear in the feed.
A simple checklist takes the guesswork out of pinning. Run each new Pin through the same quick process and know you’ve covered the basics every time, so your content has a real chance to earn saves, clicks, and followers.
Give your beginner Pinning strategy a pro-level foundation from day one.
Your Pinning Questions Answered
Even after you get the hang of pinning, some questions always pop up. Let’s walk through the big ones so you can pin with total confidence.
1. How often should I be pinning?
This is probably the most common question I hear. While there isn’t a single magic number, the key is consistency, not just sheer volume.
Aiming for 3 to 15 fresh Pins each day is a solid goal. Honestly, publishing five high-quality, well-designed Pins is way more powerful than just dumping thirty mediocre ones at the same time.
Spreading your Pins throughout the day also gives you a better chance of catching different segments of your audience when they’re most active.
2. Can I pin the same Pin to multiple boards?
Absolutely! You definitely should, as long as the boards are a good fit.
Think about it this way: a single recipe Pin for a strawberry banana smoothie could easily belong on boards like “Healthy Breakfasts,” “Quick Smoothie Ideas,” and “Post-Workout Snacks.”
The trick is to avoid spammy behavior. Don’t blast the same Pin across ten boards in five minutes. Instead, use a scheduler to space them out by at least a few days.
This keeps your account in good standing and looks more natural to your followers.
3. How long does it take to see results?
This is where you need to shift your mindset. Pinterest isn’t like other social platforms where your content has a lifespan of just a few hours. It’s a long game.
A Pin might not do much for a few weeks, then suddenly it can start gaining traction and continue driving traffic to your site for months, or even years.
Patience is your best friend here. Focus on creating high-quality, evergreen content that will stay relevant and valuable over time.