
Before you can really master how to upload pictures to Pinterest, you first need to get why it’s so important.
It’s easy to dismiss Pinterest as just another digital scrapbook, but that’s a huge mistake.
Think of it as a massive visual search engine, one where millions of people are actively looking for their next purchase or spark of inspiration.
The images you share are your direct line to that highly motivated audience.
Pinterest Is More Than Just Pretty Pictures
So many creators I talk to still see Pinterest as a simple mood board. But in practice, it functions much more like Google than Instagram.
People aren’t there to scroll and chat; they’re on a mission to discover, save, and ultimately, act on ideas.
This is what makes the platform a goldmine for driving real traffic and sales to your website.
Every picture you upload becomes a “Pin.” This isn’t just a post that disappears in a day. It’s a permanent asset that people can discover for months, sometimes even years, down the road.
A single, well-crafted Pin can keep working for you long after you’ve hit publish. That’s the real magic here.
A Platform Built on Discovery and Action
What really sets Pinterest apart is the user’s mindset. People are actively planning for the future.
They’re mapping out everything—what to cook for dinner, how to redecorate their home, or where to go on their next big vacation.
This forward-thinking attitude makes them incredibly open to new brands, products, and ideas.
Your image becomes the hook that pulls them into their own planning process. For instance:
- A food blogger’s photo of a beautiful pasta dish? That gets saved to someone’s “Weeknight Dinners” board.
- An e-commerce store’s shot of a modern floor lamp? That’s the final piece someone was looking for to complete their living room makeover.
- A travel company’s stunning beach photo? It just found a home on a user’s “Dream Vacation” board.
The Power of the Pinterest Audience
The numbers really speak for themselves. As of early 2025, Pinterest has grown into a discovery powerhouse with over 570 million monthly active users around the globe.
Even more impressively, a staggering 85% of weekly users have actually bought something based on Pins they’ve seen from brands.
This is the key takeaway: when you upload a picture, you’re doing so much more than just sharing an image.
You are strategically placing your brand, your product, or your idea right into a marketplace teeming with people who are ready to engage and buy.
This simple action is the cornerstone of any winning Pinterest strategy.
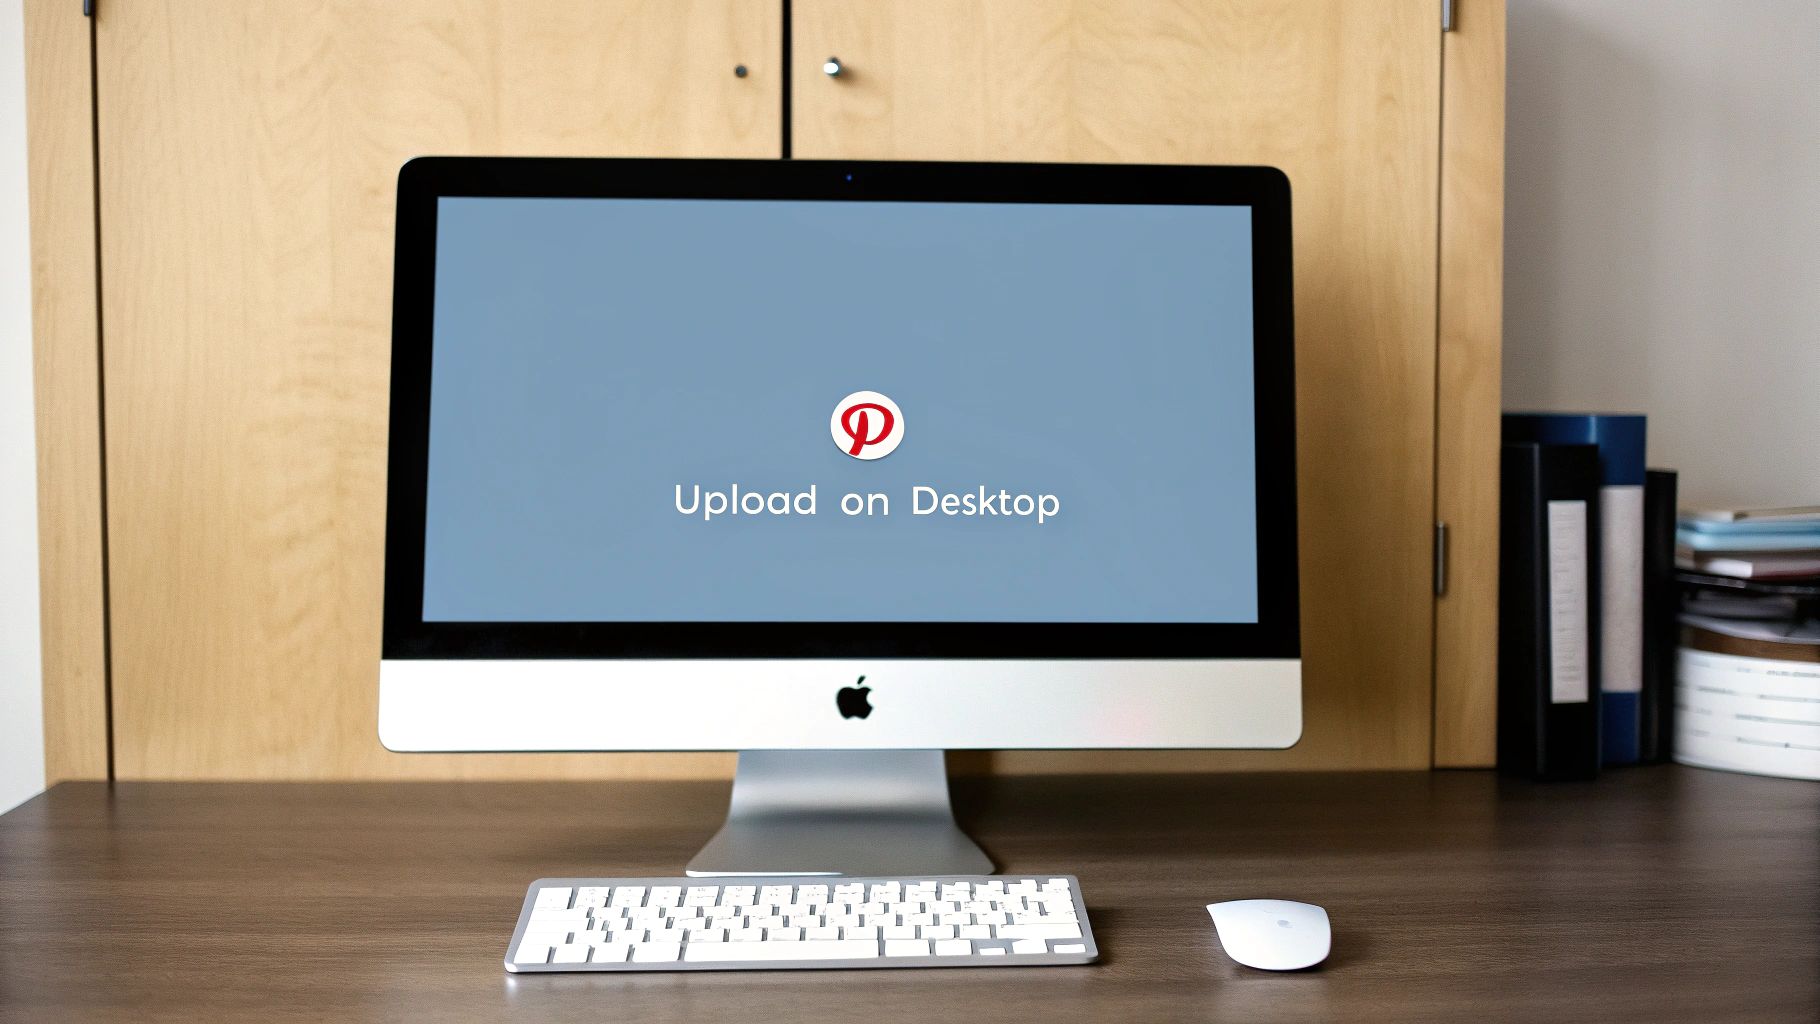
Uploading Pictures from Your Desktop
When you’re ready to seriously build your Pinterest presence, uploading from your desktop is the way to go.
It gives you the most control over the fine details that make a Pin successful. Honestly, it’s my preferred method.
First things first, head to your Pinterest homepage. You’ll see a Create button somewhere in the top navigation—they move it around sometimes, but it’s usually easy to spot.
Click that, and a little menu will pop down. Just select Create Pin.
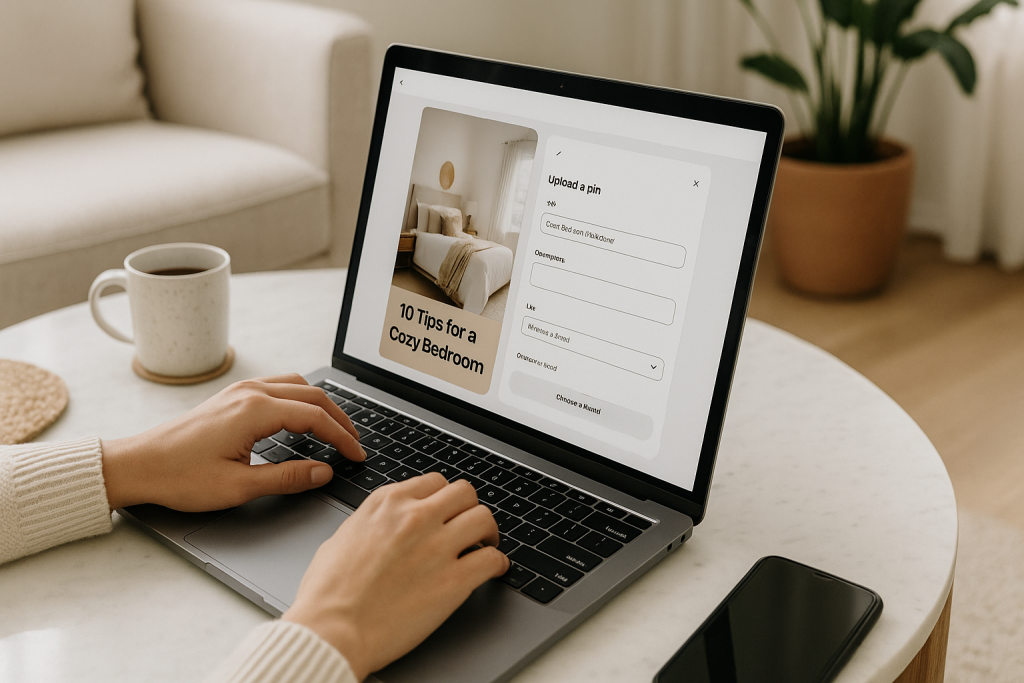
This brings you to the Pin creator, which is basically your command center. You’ll see a big space prompting you to add your image.
I find it easiest to just drag the picture file from a folder on my computer and drop it right in there. If you prefer, you can also click the area to open a file browser and find it that way.
Filling Out Your Pin Details
Okay, your image is loaded. Now for the most important part—the details.
It’s tempting to rush through this, but trust me, these fields are what get your Pins discovered. Skipping them is like shouting into the void.
- Title: Think of this as your headline. You want it to be compelling and packed with the keywords someone would actually search for. So, instead of a generic title like “Cake,” you’d want something specific like “Easy Vegan Chocolate Avocado Cake Recipe.” See the difference?
- Description: Here’s where you can expand on the title. Tell the story behind the Pin using natural, conversational language. For our cake example, you could describe the rich flavor and mention that it’s a surprisingly healthy dessert. Weave in a few more related keywords naturally.
- Alt Text: This is huge for both accessibility and SEO, but so many people ignore it. Simply describe what’s in the picture for visually impaired users and for search crawlers. For our cake Pin, something like, “A close-up shot of a rich, dark chocolate avocado cake on a white plate” works perfectly.
- Destination Link: Where do you want people to go when they click? This is where you put that URL. Make sure it’s the exact page you’re referencing, whether it’s a blog post, a product listing, or a landing page. Don’t just send them to your homepage.
Remember, every single field you fill out is a signal to Pinterest. You’re feeding its algorithm valuable data.
The more context you provide, the better Pinterest gets at matching your Pin with the right audience, which is how you get that sweet, sweet engagement and traffic.
With all the details filled in, the last step is choosing the right board. Pick the most relevant board from the dropdown menu; this helps keep your profile tidy and makes it easier for followers to browse your content.
Finally, you can hit Publish to send it live immediately or, even better, use the scheduler to post it at a time when you know your audience is online and ready to Pin.
Uploading Pictures with the Mobile App
Given that a staggering 85% of Pinterest activity happens on mobile, mastering the app isn’t just a nice-to-have skill—it’s absolutely critical.
For creators on the go, the mobile app is where the magic happens. Think of a food blogger capturing the perfect shot of a new recipe, or a boutique owner snapping photos of new arrivals the moment they’re unboxed.
The whole process starts right from your main feed. Find the plus (+) icon that sits at the bottom of the screen. Tapping it brings up your creation menu, where you’ll want to choose Pin.
This will take you directly to your phone’s photo library. From here, you can pick a single standout image or select several to create an engaging carousel Pin.
Once you’ve made your choice, you’ll be on the Pin editor screen, ready to add the finishing touches.
Polishing Your Pin on the Go
Just because you’re on your phone doesn’t mean you should skimp on the details. The mobile interface gives you all the same optimization tools as the desktop version, so be sure to use them.
- Title: Grab attention with a keyword-rich title.
- Description: Use this space to tell a story or explain what makes your Pin valuable.
- Link: This is your chance to drive traffic directly back to your blog, product page, or portfolio.
Imagine you’re a travel blogger who just finished a gorgeous hike. You can upload a photo straight from the trail, write a quick, compelling description of the view, link to the full trail guide on your blog, and have it published before you even make it back to the parking lot.
This ability to publish in real-time is the true power of mobile uploads.
It closes the gap between experiencing something and sharing it, letting you connect with your audience through authentic, timely content.
All that’s left is to choose the most relevant board for your new Pin to keep your profile neat and tidy, then hit Create. Just like that, your content is live and ready to inspire people across the platform.
Turning Your Uploads into Traffic Magnets
Uploading a picture to Pinterest is easy, but getting it seen? That’s the real challenge.
The journey from upload to website traffic isn’t just a click of a button; it’s about making every part of your Pin work for you.
Think of it this way: you’re not just adding an image to your board. You’re dropping a breadcrumb for both the Pinterest algorithm and your ideal audience.
With over 10 billion boards and 500 billion Pins out there, you need to make your breadcrumbs as tasty as possible.
The payoff is worth it. For online stores and creators, Pinterest is a goldmine, delivering 33% more referral traffic than Facebook.
Your goal is to signal to Pinterest exactly what your content is about so it can serve it up to the right people.
Crafting a Title and Description That Work
The words you use are just as crucial as the picture itself. A great image with a weak title or a generic description is a massive missed opportunity.
- Your Title is the Hook: Be direct and think like your audience. Instead of a vague title like “Living Room Idea,” get specific with something like “Cozy Mid-Century Modern Living Room with Velvet Sofa.” This targets users who are searching with intent.
- Your Description Tells the Story: This is your space to add context and sprinkle in more keywords. Expand on the title by describing what’s in the image, offering a quick tip, or even asking a question. For our living room example, you could mention things like “apartment decor ideas” or “small space living” to cast a wider net.
Key Takeaway: A well-optimized title and description don’t just describe your Pin—they sell the click. They make a promise to the user that valuable, relevant content is waiting for them on your website.
Mastering the Technical Details
Beyond the creative side, a few technical tweaks can give your Pin a serious performance boost. These are simple steps, but they make a huge difference.
First, always fill out the alt text. This is your secret weapon for accessibility and SEO. It’s a literal description of what’s in the picture (e.g., “A woman in a yellow dress stands in a field of sunflowers”).
This helps visually impaired users understand your content via screen readers and gives Pinterest another important clue about your Pin’s topic.
Next, use a few relevant hashtags. Tucking 2-4 targeted hashtags at the end of your description can help categorize your content and give it an initial visibility boost.
Finally, think vertical. The most successful Pins have a 2:3 aspect ratio (a common size is 1000 x 1500 pixels).
Vertical images simply take up more real estate on a user’s screen, especially on mobile, making them far more likely to get noticed and clicked.
Once you’ve uploaded your image, run through this quick checklist to make sure every element is pulling its weight.
Pin Element Optimization Checklist
This table is a quick reference to ensure you’re getting the most out of every Pin you create.
| Pin Element | Optimization Goal | Best Practice Example |
|---|---|---|
| Title | Capture attention with keywords | “Easy 30-Minute Vegan Chili Recipe” instead of “Chili” |
| Description | Add context and related keywords | “The perfect weeknight meal! This vegan chili uses simple pantry staples like black beans and corn. Great for meal prep and freezer-friendly.” |
| Alt Text | Improve accessibility & SEO | “A top-down view of a red bowl of chili topped with avocado slices and fresh cilantro.” |
| Destination Link | Drive traffic to a relevant page | Link directly to the blog post with the chili recipe, not your homepage. |
| Image | Maximize visibility and appeal | A high-quality, vertical photo (2:3 aspect ratio) with a text overlay like “Best Vegan Chili”. |
By combining a great visual with smart, strategic optimization, you turn every single upload into a genuine opportunity to drive traffic.
For a deeper dive into creating Pins that really perform, check out our guide on how to create Pins for Pinterest that drive massive traffic.
How to Upload Multiple Pictures at Once
If you’re serious about growing your presence on Pinterest, uploading Pins one by one just isn’t going to cut it. It’s a massive time sink.
Thankfully, you don’t have to. Pinterest has its own native bulk-creation tool to help you get more content up, faster.
The feature lets you upload a batch of up to 20 static Pins or videos at the same time using a simple CSV spreadsheet. It’s a bit old-school, but it works.
You just need to get your image files ready and fill out the spreadsheet with the right info for each Pin.
Using the Native Bulk Uploader
This spreadsheet method is actually great for mapping out content campaigns ahead of time. It forces you to be organized.
The columns you need to fill in are pretty straightforward and cover all the essentials for a solid Pin:
- Image File: Just the name of your image, like
my-best-recipe.jpg. - Board: The exact name of the board you want to Pin to.
- Title: Your snappy, keyword-focused title.
- Description: The full story behind your Pin.
- Destination Link: The specific URL you want people to visit.
Getting this all down in one go really makes you think strategically about your content batch, ensuring every single Pin is optimized before it ever goes live.
The real game-changer, though, is using a dedicated scheduling tool. These platforms don’t just automate the upload; they bring advanced analytics and smart scheduling to the table, which is a big step up from what Pinterest offers on its own.
Tools like Tailwind or Later are built for high-volume pinning and make the whole process feel less like a chore. They have much more visual and user-friendly interfaces than staring at a spreadsheet.
If you want to dive deeper into this workflow, we’ve put together a full guide on how to bulk upload to Pinterest.
Consistently getting fresh visual content up is key, especially now. The platform has exploded to 570 million monthly active users as of early 2025, which shows just how much influence it has.
You can explore more about Pinterest’s growth on adamconnell.me.
A simple process to turn everyday photos into Pinterest-ready traffic drivers
Now that you know how to upload pictures to Pinterest from desktop, mobile, and even in bulk, the next step is making sure every image is actually ready to perform before it goes live.
Instead of guessing whether your photo, title, description, and link are truly optimized, run each new Pin through our free Pin Optimization Checklist.
In just a few minutes you can confirm your image size, text overlay, keywords, alt text, and destination URL are all dialed in so every upload has the best chance to rank, get saves, and drive clicks back to your site.
Use it alongside this guide whenever you batch new Pins so turning raw photos into Pinterest-ready traffic magnets becomes a simple, repeatable part of your workflow.
Answering Your Top Pinterest Upload Questions
Even after you get the hang of uploading Pins, a few nagging questions always seem to come up. From my experience, getting these details right is what separates a Pin that gets ignored from one that drives real results.
Let’s tackle the most common one first: blurry images. If your Pins look fuzzy after you upload them, the culprit is usually one of two things: a low-resolution source file or the wrong dimensions.
You have to start with a sharp, high-quality image. Pinterest compresses photos to keep the platform speedy, so feeding it a great source file from the get-go is your best defense against compression artifacts.
If you upload a small, square photo, Pinterest will stretch it to fit the vertical feed, which is a surefire way to make it look blurry and unprofessional.
What’s the Ideal Image Size for Pinterest?
For the best possible display, you should stick to a 2:3 aspect ratio. The sweet spot I always recommend is 1000 x 1500 pixels.
Using vertical images is pretty much non-negotiable on Pinterest. Think about how you scroll—those tall Pins just command more attention, especially on mobile, where over 80% of Pinners are active.
A vertical Pin fills the screen, while a horizontal or square one gets lost in the shuffle. Sticking to that 2:3 ratio ensures your image is shown in full, making it instantly more engaging.
Can I Post a Picture Without a Website Link?
Yes, you technically can. Pinterest doesn’t force you to add a destination link when you upload a picture.
But should you? If you’re using Pinterest for marketing, adding a link is almost always the right move. That link is your bridge to more website traffic, new subscribers, and sales. It’s what turns a simple image into a genuine business asset.
That said, there are exceptions. If you’re posting a simple inspirational quote or a brand-building graphic just to grow your presence on the platform, you might decide to skip the link. The goal there is pure engagement on Pinterest.
For almost every other situation, though, that link is your most important tool. Don’t skip it.