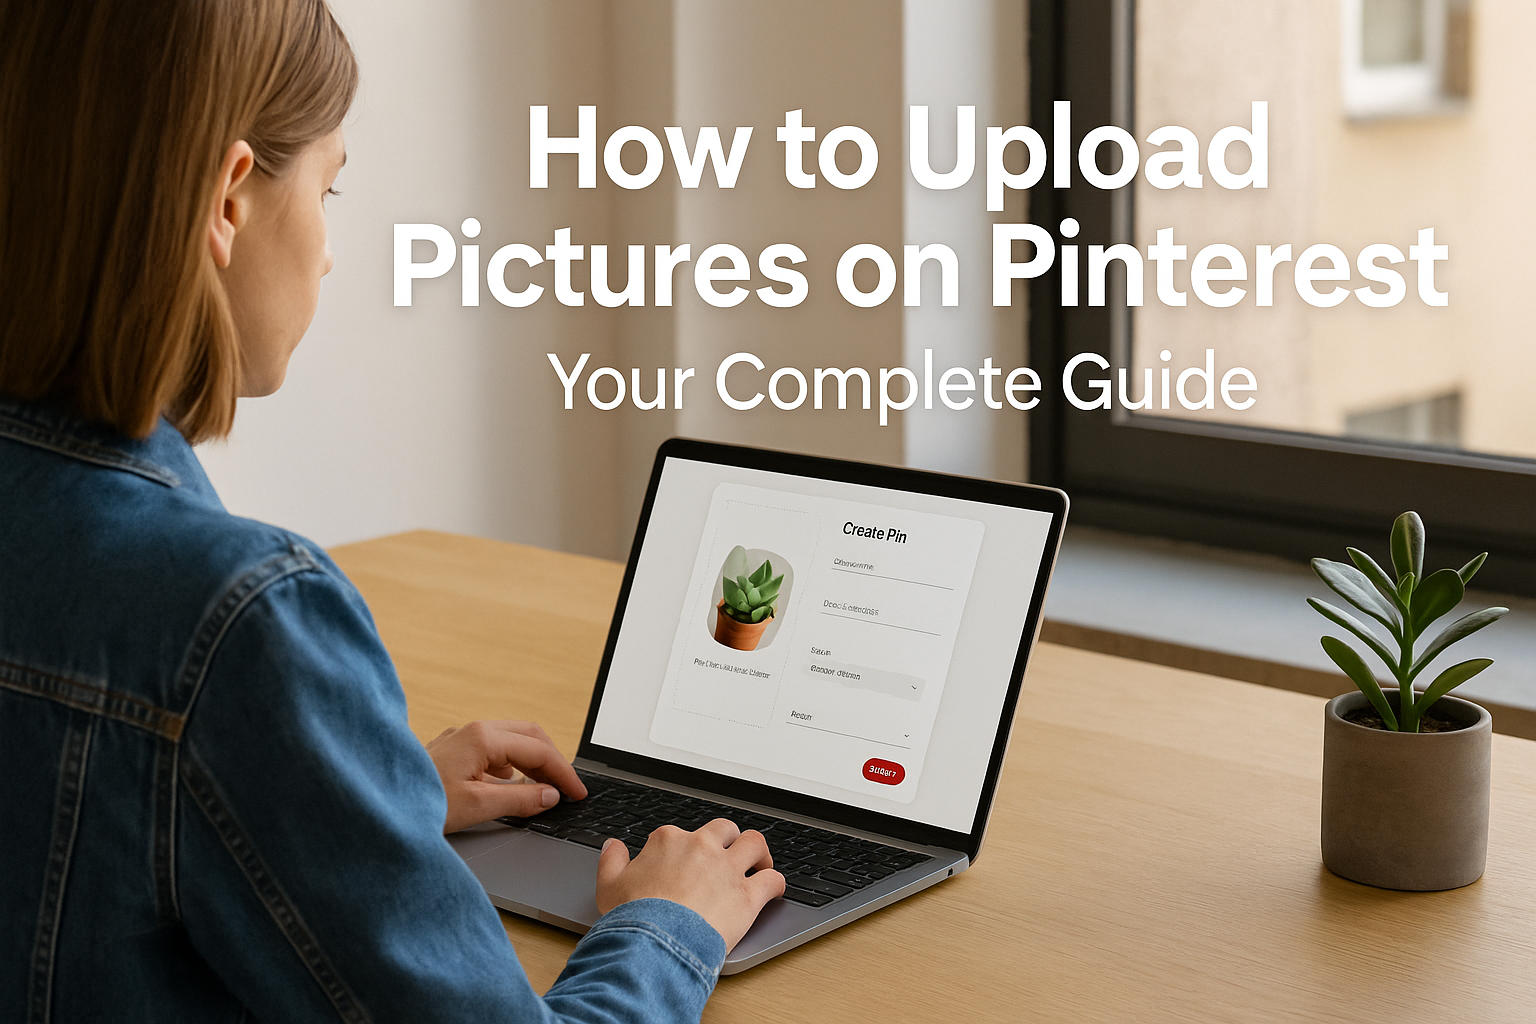
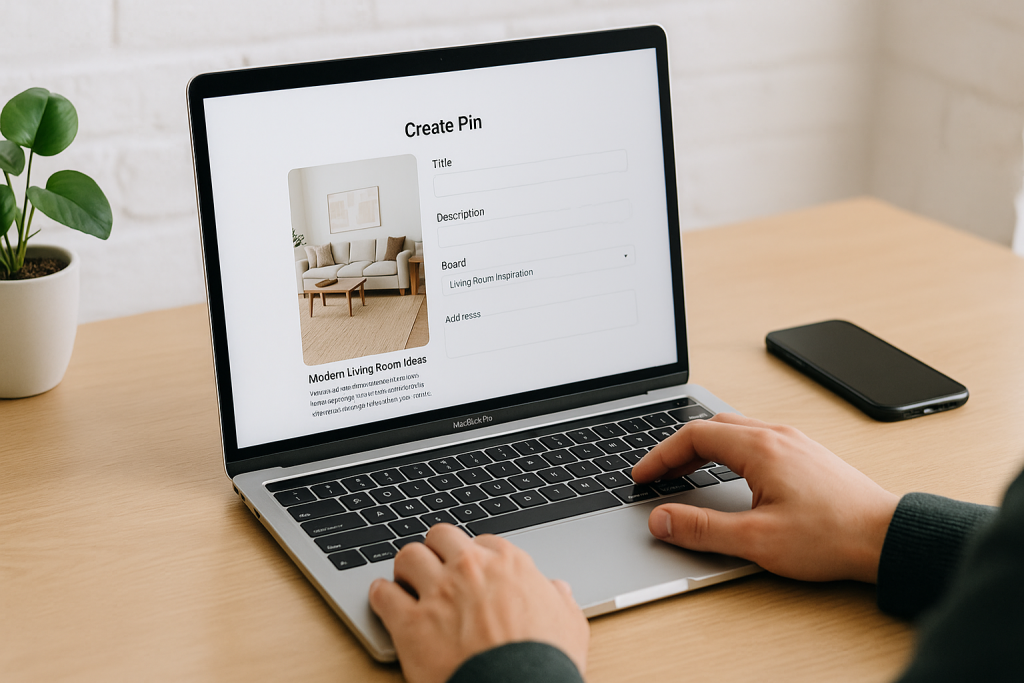
Uploading a picture to Pinterest is straightforward.
On the homepage, you just click ‘Create’ and then ‘Create Pin’.
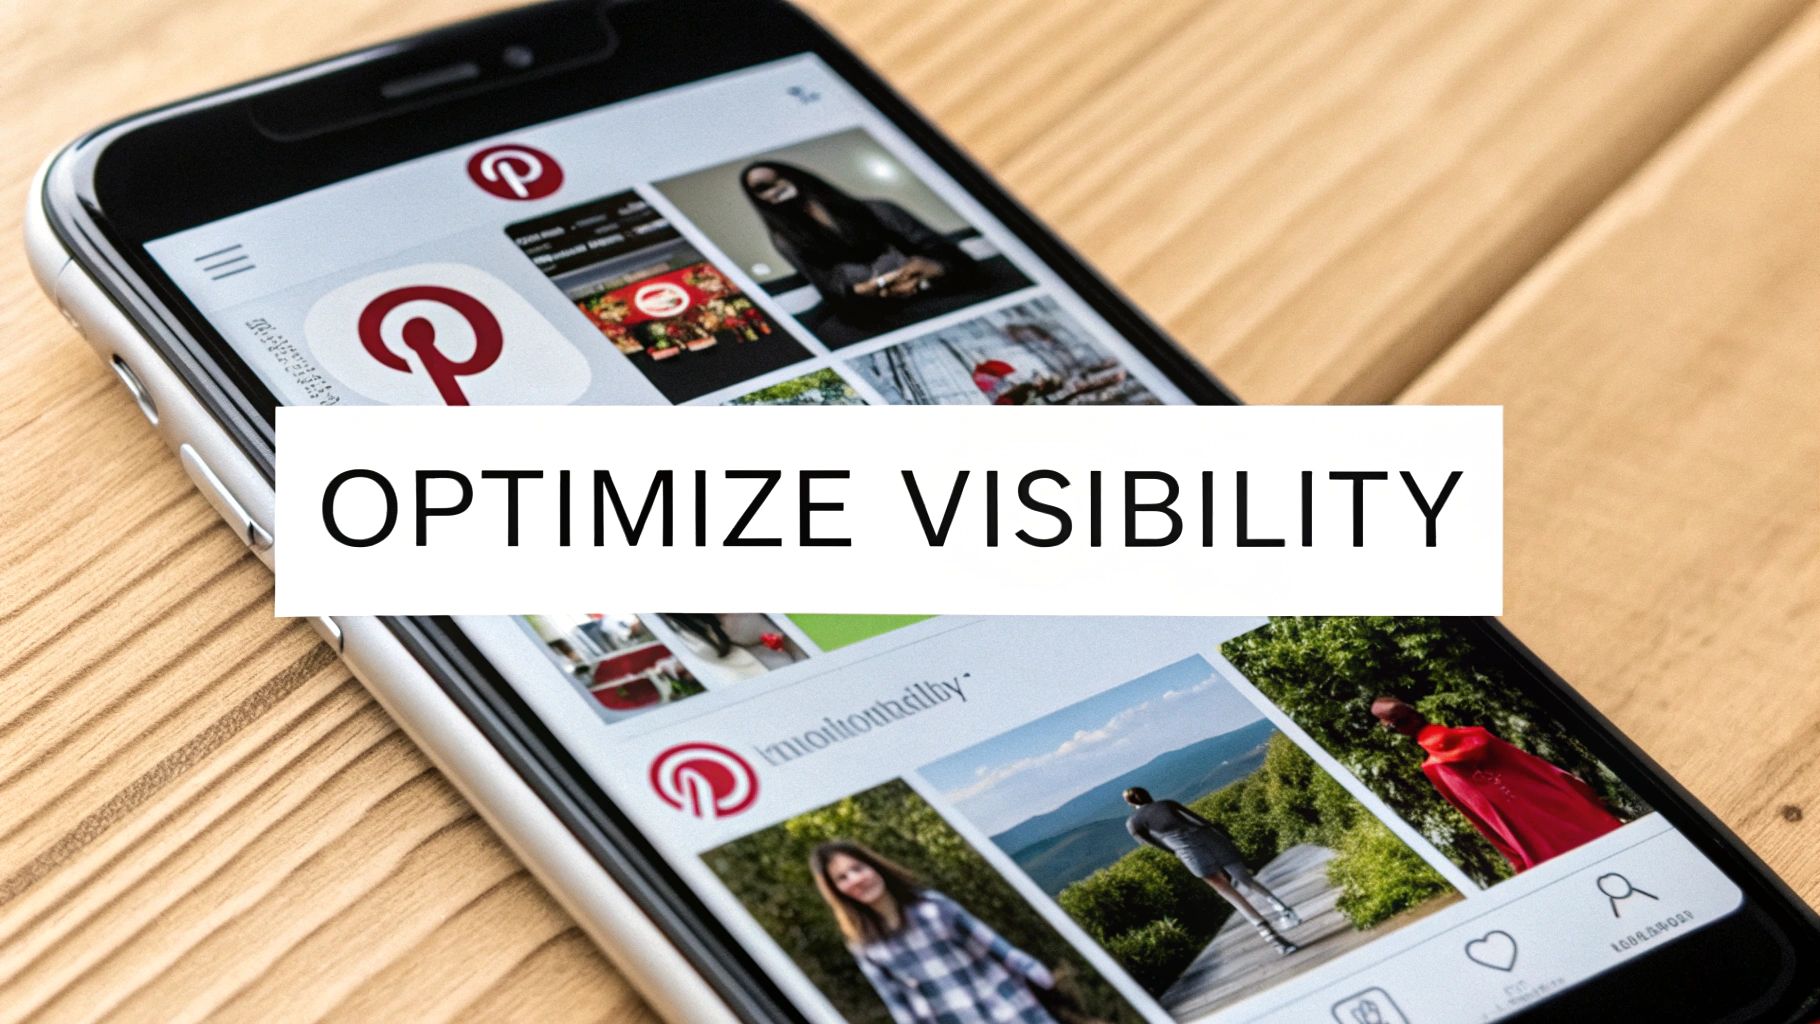
That’s your gateway to getting an image in front of a massive audience.
Once you get that down, you can really dig into the fun part: making sure people actually find your stuff.
Your Quick Guide to Uploading a Picture on Pinterest
Before we get into the nitty-gritty of optimization, let’s walk through the basic upload process. It helps to think of Pinterest less like a social media site and more like a visual search engine.
Every single picture you upload is a piece of content that can pop up in search results for months, sometimes even years. This is exactly why getting the upload process right from the very beginning is so crucial.
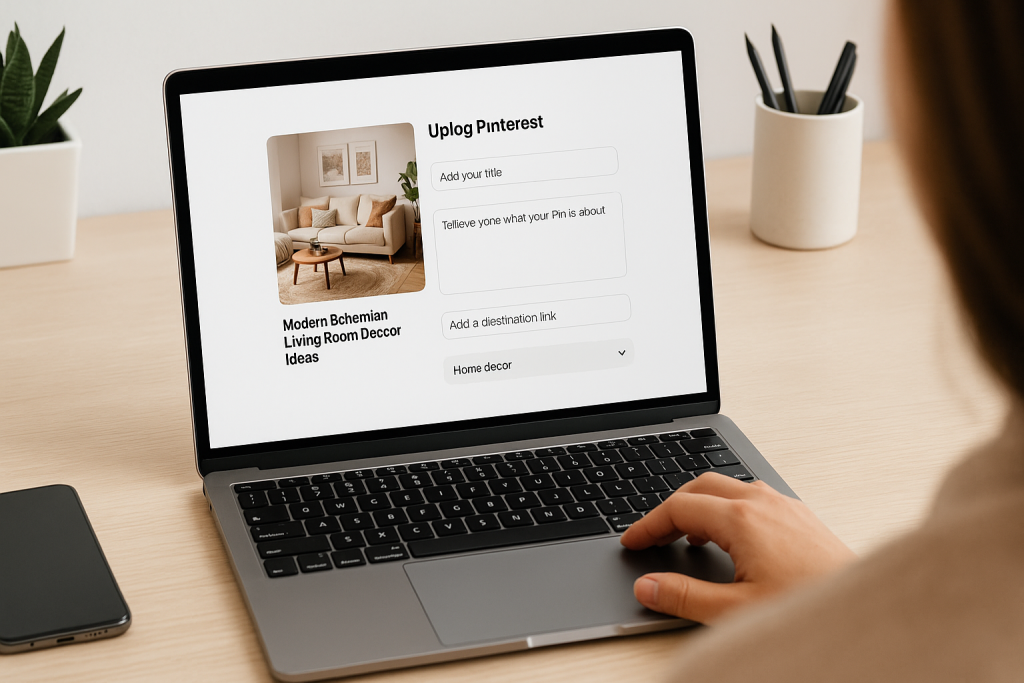
Whether you’re on your computer or your phone, the steps are pretty intuitive. Pinterest walks you through grabbing an image, writing a good description, and saving it to a relevant “Board.”
Boards are basically your digital folders. They keep your Pins organized, making it way easier for someone searching for “healthy dinner recipes” or “DIY home decor” to stumble upon your content.
Understanding the Basic Pinterest Workflow
When you break it down, getting a picture from your device onto a live Pin really happens in three stages. First, you start the creation process.
Next, you add all the important details to your image. Finally, you file it away by publishing it to the right board.
This simple flow captures the core steps for getting your picture seen.
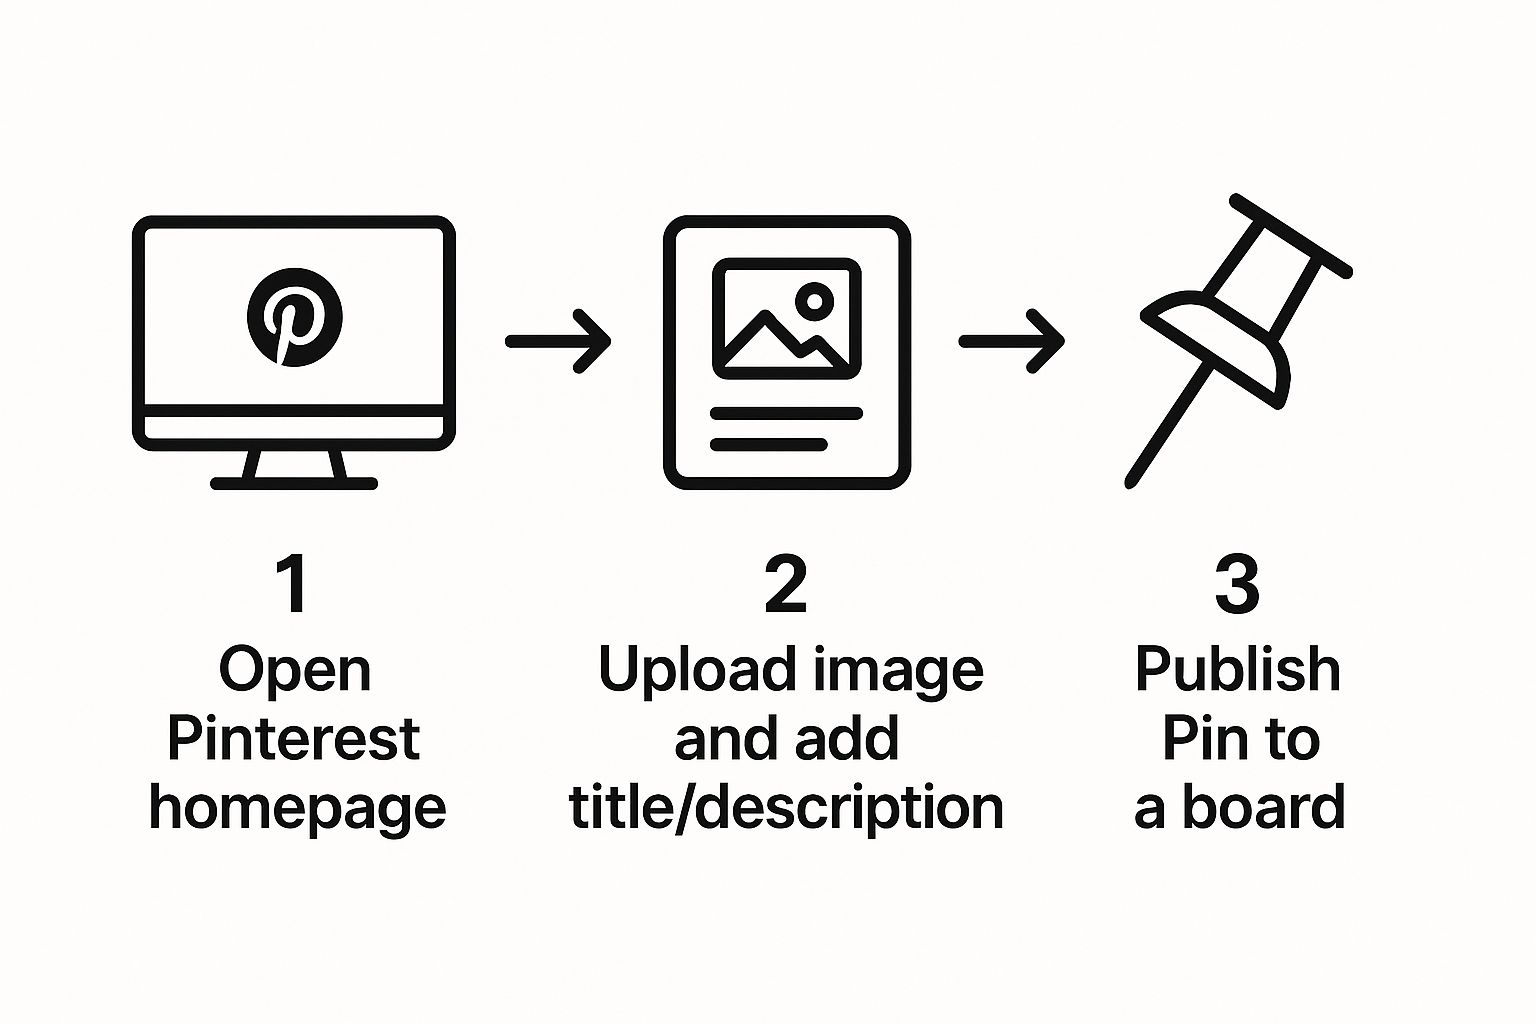
As you can see, it’s not complicated. The process is all about the upload, the description, and finding the perfect board for your Pin to live on.
When Pinterest first launched back in 2010, it was essentially a digital corkboard for people to save cool images they found.
Its simple interface made uploading easy—just hit the plus (+) button and choose ‘Create Pin.’ Fast forward to early 2025, and the platform now has over 578 million monthly active users globally.
That’s a staggering jump, and it shows just how much those simple picture uploads have fueled its growth into a content powerhouse.
You can find plenty of fascinating details about Pinterest’s user statistics and its journey online.
Getting Your First Pin Live From Any Device
Alright, theory is great, but let’s get our hands dirty. The real magic happens when you start uploading your own images.
We’ll walk through exactly how to get your pictures onto Pinterest, whether you’re working from your laptop or snapping photos on the fly with your phone.
The best way to upload really comes down to your workflow. Think about a food blogger who just finished a photoshoot for a new recipe.
They’ve got a folder of beautiful, high-resolution images on their computer. For them, uploading from their desktop is a no-brainer.
It gives them a big screen and a proper keyboard to nail the title, write a compelling description, and get all their keywords just right.
Where Are Your Pictures Coming From?
The upload process changes slightly depending on where your image is stored.
Each method is built for a different scenario, from pulling content straight off your website to sharing a quick pic from your phone.
Knowing how you can pin something on Pinterest from various devices gives you a ton of flexibility.
Here’s a quick rundown of the main ways to get your pictures onto Pinterest and when you’d want to use each one.
Pinterest Upload Methods Compared
| Upload Method | Best For | Key Benefit |
|---|---|---|
| From Your Computer | High-quality, edited images and batching content | Full control over optimization and easy file access |
| From Your Phone | On-the-go content and behind-the-scenes shots | Speed and convenience for real-time sharing |
| From a Website | E-commerce products or blog post images | Directly links the image to the source URL automatically |
Think about an e-commerce store owner. They’re probably not saving every product photo to their desktop just to upload it.
A much smarter way is to use the Pinterest browser extension. They can go right to a product page on their own site, click the extension, and it will grab the product image and automatically link it back to that page. It’s a huge time-saver.
Key Takeaway: Match your upload method to your goal. For polished, keyword-rich Pins that are central to your strategy, use your desktop. For quick, authentic content or pulling directly from your site, mobile or the browser extension is your best bet.
What if you have more than one great shot? Say, different angles of a product or step-by-step photos for a DIY project.
This is the perfect time to create a Carousel Pin. Instead of just one image, you can select up to five.
Carousels are fantastic for telling a bigger story and getting people to spend more time interacting with your content.
Optimizing Your Pins for Maximum Visibility
Getting your picture onto Pinterest is just the first step. The real magic happens when people actually find it, and that’s all about optimization.
Think of it as Pinterest SEO—a few smart tweaks that tell the platform what your content is about so it can show it to the right people.
Uploading a gorgeous image without a solid title or description is like publishing a book with a blank cover.
You have to give Pinterest the context it needs to get your Pin showing up in search results.
Writing Titles and Descriptions That Get Found
Your Pin’s title and description are your best friends when it comes to visibility. Don’t just describe what’s in the picture; get inside the head of a user and think about what they would type into the Pinterest search bar.
For example, instead of a vague title like “Kitchen Decor,” get specific with something keyword-rich like “Modern Farmhouse Kitchen Island Ideas.” simple switch connects you directly with someone looking for exactly that.
A great way to find the right keywords is to use Pinterest’s own search bar as a research tool. Start typing a broad term like “living room,” and pay close attention to the auto-fill suggestions.
Pinterest is literally handing you a list of what its users are searching for. Weave those phrases naturally into your descriptions.
The Power of Keywords and Consistency

Pinterest’s algorithm loves fresh, keyword-rich Pins. It rewards accounts that consistently upload high-quality images with long-term visibility.
This is why knowing how to upload pictures the right way—with high-resolution images and accurate, descriptive text—is so important.
The proof is in the numbers. Pinterest marketing experts have seen clicks on Pinterest content jump by a staggering 55% in the last year, a surge driven largely by engaging visuals.
It’s all about creating images that make people stop scrolling, which is why mastering social media visual content is key.
The Finishing Touches: Destination Links and Alt Text
Every Pin should have a job, and usually, that job is to drive traffic somewhere else. This is where the destination link comes in.
Always add a link that sends users to a relevant place, like your blog post, a product page, or your portfolio. This is how a simple picture turns into a powerful marketing asset.
And don’t skip the alt text! While it’s technically there for screen readers, it also gives Pinterest’s algorithm another important clue about your image’s content. Be descriptive and tell it exactly what’s in the picture.
Finally, choose the most relevant board for your Pin. Organizing your content into specific, clearly named boards is a simple but incredibly effective way to boost its discoverability.
Of course, none of this matters if the image itself doesn’t look great, so make sure you’re using the right dimensions for your visuals.
Advanced Tips for Creating Standout Pins
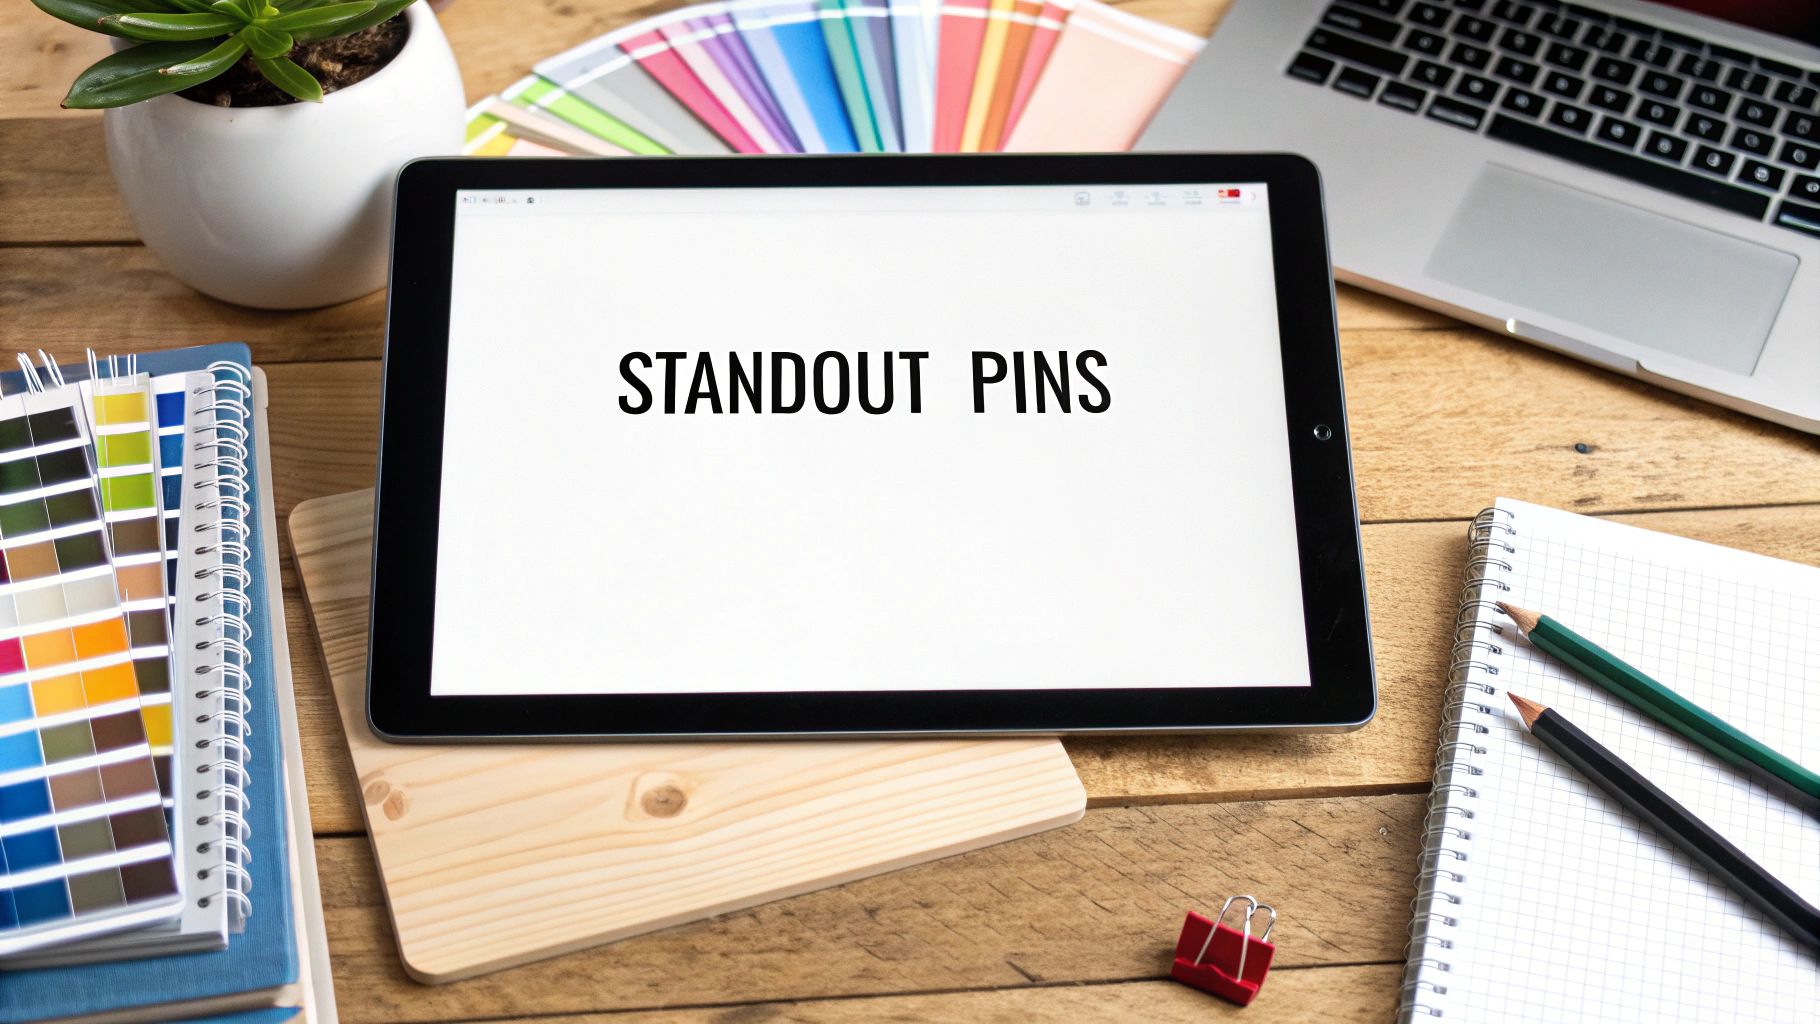
So, you’ve got the hang of uploading pictures to Pinterest. That’s great! But if you really want to drive traffic and stop people mid-scroll, you need to go beyond a simple image upload.
There are a few key techniques that separate the casual pinners from the power users.
The single biggest change you can make is to fully embrace the vertical format. I can’t stress this enough. Aim for an aspect ratio of 2:3—something like 1000px by 1500px is perfect.
Vertical images simply dominate the screen, especially on mobile, which is where most people are browsing. It’s an instant way to get more attention in a very crowded feed.
Design Elements That Drive Clicks
A beautiful photo is a good starting point, but adding context right on the image is what really makes a difference. Text overlays with a clear, punchy headline can boost your engagement like crazy.
Think of it as giving your image a job. A picture of a smoothie is nice, but add the text “5-Minute Energy Boosting Smoothie Recipe” and you’ve told the user exactly what they’ll get by clicking. That’s a game-changer.
- Add a Bold Headline: Choose a clean, readable font that really pops against the background image. Contrast is your friend.
- Include a Call-to-Action: Simple phrases like “Shop the Look” or “Get the Recipe” tell people what to do next. Don’t make them guess.
- Brand Your Pins: Consistently adding your logo or website URL is a simple way to build brand recognition over time.
If you want to get these elements just right, you don’t need fancy software. You can easily utilize an online image editor to add text, tweak colors, and make sure everything is perfectly formatted before you upload.
Pinterest users save over 1.5 billion Pins every single week, and more than 75% of those are image-based product recommendations.
This just proves how powerful visuals are for telling a story and guiding buying decisions.
Exploring Dynamic Pin Formats
Don’t just stick to static images. Pinterest offers more dynamic formats that can tell a much richer story.
Video Pins and Idea Pins are fantastic for showing off tutorials, giving a behind-the-scenes look, or demonstrating a product in action. They’re engaging and keep people on your content longer.
And here’s a pro-level tip: schedule your Pins. This lets you stay consistent and post when your audience is most active, all without having to be chained to your desk.
The Pinterest algorithm loves consistency, and scheduling makes it so much easier to achieve.
For a deeper dive, check out our guide on how to create Pins that perform at https://www.postpaddle.com/blog/how-to-create-pins.
7 Common Pinterest Upload Mistakes (And How to Fix Them)
It’s one thing to get your pictures onto Pinterest, but it’s another thing entirely to make them work for you.
After years of working with creators, I’ve seen the same small missteps trip people up time and time again.
These little errors can tank your reach and stop your content from ever getting traction.
Let’s walk through the most common mistakes so you can sidestep them completely.
The Blurry Photo Problem
This one sounds obvious, but it’s still the most frequent issue I see. Pinterest is all about aesthetics. A blurry, low-resolution, or poorly lit image is an instant scroll-past.
Think about it from a user’s perspective: they’re looking for inspiration, and a grainy photo just looks unprofessional.
It sends a signal to the Pinterest algorithm that your content isn’t high-quality, which hurts your visibility.
Always, always upload crisp, clear visuals that pop, especially on a mobile screen where most users will see them.
The Link to Nowhere
A Pin without a working destination link is a total dead end. You’ve created this beautiful visual that grabs someone’s attention, they click on it wanting to know more, and… nothing.
It’s a frustrating experience for them and a massive missed opportunity for you to get traffic.
Make it a habit to double-check every single link before you hit publish. It takes two seconds and can be the difference between a Pin that drives traffic and one that just sits there.
Treating Pinterest Like Instagram
So many people new to the platform treat it like a social media feed when it’s actually a visual search engine. This fundamental misunderstanding leads to two huge mistakes that kill your reach.
- Writing Vague Descriptions: A description that just says “New recipe!” or “Cute outfit!” does absolutely nothing for you. Users aren’t searching for that. They’re searching for “easy vegan weeknight pasta recipe” or “fall wedding guest dress.” Your descriptions need to be packed with the specific keywords people are actually typing into the search bar.
- Using Generic Boards: Throwing all your Pins onto one big board called “My Stuff” or “Blog Posts” is a classic beginner mistake. You need to create niche-specific boards like “Scandinavian Home Decor” or “Gluten-Free Baking Ideas.” This helps Pinterest understand what your content is about and show it to the right people.
My Two Cents: Think of your Pin descriptions and board titles as your most important SEO real estate on the platform.
Give them the same care and attention you’d give to the keywords on your website. They are direct instructions telling the algorithm who to show your content to.
The “Post and Ghost” Method
The Pinterest algorithm loves consistency. It wants to see that you’re an active, reliable source of fresh ideas.
Posting 10 Pins in a flurry of activity and then disappearing for three weeks is far less effective than pinning just one or two high-quality images every single day.
That steady rhythm builds momentum and keeps your content visible in people’s feeds. Consistency really is king here.
Give Every Pinterest Upload a Pre-Flight Check
Once you know how to upload pictures to Pinterest, the real difference comes from how polished each Pin is before it goes live.
Instead of hoping you didn’t miss anything, run every new image through our free Pin Optimization Checklist and treat it like a quick pre-flight check for your content.
In just a few moments you can confirm the image size is right, the design is clear on mobile, your text overlay actually earns the click, and your title, description, board, link, alt text, and hashtags are all working together to boost search visibility.
That way, every upload supports your long-term Pinterest growth instead of getting lost in the feed.
Use this checklist side by side with the steps in this guide whenever you batch new images, and turn “uploading pictures” into a simple, repeatable system that reliably drives traffic.
Got Questions About Uploading to Pinterest?
Even after you’ve got the hang of it, a few tricky questions always seem to pop up. Let’s clear the air on some of the most common things people ask about uploading pictures to Pinterest.
Getting these details right is what separates a good Pin from a great one.
What’s the Best Image Size for a Pinterest Pin?
Stick to a 2:3 aspect ratio. Seriously, this is one of the most important things to get right. In terms of pixels, that usually means something like 1000 x 1500 pixels.
Vertical images are king on Pinterest because they take up more space on the screen, especially on mobile, which is where almost everyone is scrolling.
You can upload other sizes, but they just don’t perform as well. Square images get lost in the feed, and super-long “giraffe” pins often get cut off.
Nailing that 2:3 ratio makes sure your Pin looks professional and grabs the attention it deserves.
Can I Add More Than One Picture to a Single Pin?
Yep, you sure can! Pinterest calls this a Carousel Pin. When you’re in the Pin creator, you can just select multiple images from your computer instead of a single one.
This bundles them into one Pin that people can swipe through.
Carousels are a game-changer for a few things:
- Showing off a product from a bunch of different angles.
- Creating a mini-tutorial or a step-by-step recipe guide.
- Grouping related ideas, like “5 Ways to Style a Bookshelf.”
You can pack up to 5 images into a Carousel, which is perfect for telling a more in-depth story without overwhelming your audience.
Help! My Destination Link Isn’t Working.
A broken link is one of the most frustrating things for a user—they clicked because they were interested, and now they’ve hit a dead end.
If your link is failing, it’s almost always one of a few culprits. First, a simple copy-paste error. Double-check that you grabbed the entire URL, “https://” and all.
Another common issue is that Pinterest can be picky about certain URL shorteners, sometimes flagging them as spam.
It’s always a safer bet to use the direct, full-length URL to your content. And of course, make sure the page you’re linking to is actually live!
My Pro Tip: Always test your links yourself. Before you hit publish, copy the link from the Pin editor and paste it into a new browser tab. If it works for you, it’ll work for your audience.
How Do I Schedule a Pin to Go Live Later?
Pinterest has a fantastic built-in scheduler that makes it easy to keep a consistent posting schedule without having to be online 24/7.
When you’re creating a new Pin, instead of hitting that big red ‘Publish’ button, look for the ‘Publish at a later date’ option.
It’s super straightforward from there. Just pick the date and time you want your Pin to drop.
You can schedule your content up to 30 days in advance, which is a lifesaver for planning around a launch, a holiday, or just batch-creating your content for the month.